If there's one thing that can make or break a photograph more than any other, it's lighting. You might have the most incredible landscape or stunning portrait model, but without the right quality of light you can still be left with a flat, dull, and uninspiring photo.
This is particularly true in outdoor photography - it can often be difficult or impossible to use artificial lighting to illuminate your subject, so you're completely reliant on the natural light.
As a result, it's critical to find the right time of day to shoot your outdoor scene. Thankfully, professional and amateur photographers have been thinking about this problem since the invention of the first camera, and have found the perfect solution - the so-called "golden hour".
What is the Golden Hour?
The golden hour, sometimes called the "magic hour", is roughly the first hour of light after sunrise, and the last hour of light before sunset, although the exact duration varies between seasons. During these times the sun is low in the sky, producing a soft, diffused light which is much more flattering than the harsh midday sun that so many of us are used to shooting in.

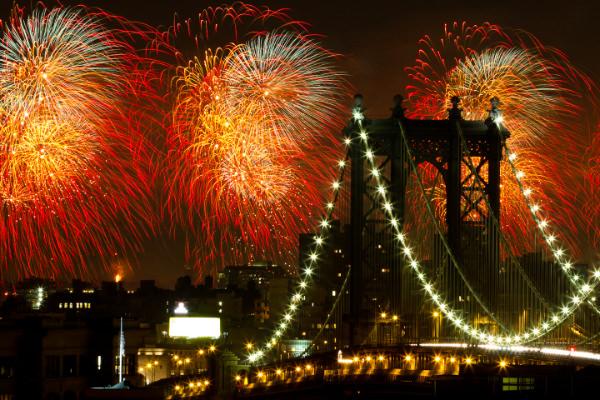
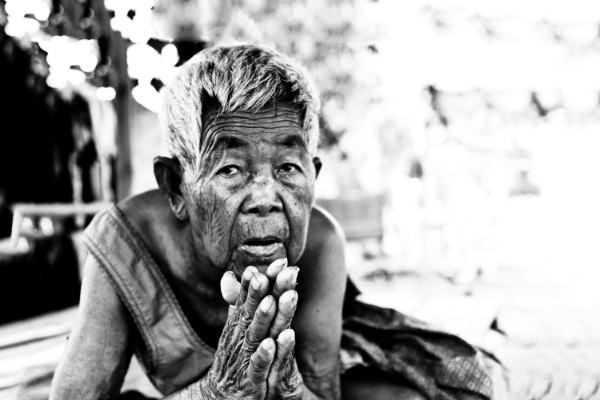
Lighting during the golden hour is soft, diffused, and warm. Image by Martin Sojka.
This type of light produces less contrast, reducing the chances of losing parts of your subject in strong shadows or blown-out highlights. The warm glow adds a pleasing feel to the scene, and the long shadows help to pick out details, adding texture and depth to the image.
As an added benefit, there are generally fewer people around at dawn and dusk than there are at other times of the day, giving you a chance to capture your images in relative peace.
When to Use It
The golden hour rule can be applied to any type of outdoor photography. As well as the more obvious subjects such as landscapes and city scenes, it also works well for outdoor portraits, shots of flowers and plants, and even certain types of still life such as cars.
Professional photographers swear by this rule, and many follow it so rigidly that they even go as far as refusing to shoot outdoors at any other time of the day. You don't need to be quite so strict, but bear in mind that these guys are called experts for a reason, and their advice is usually worth following.
Calculating the Golden Hour
The quickest and easiest way to calculate the times of your two daily golden hours is to use this golden hour calculator. It uses a slightly more complicated definition of the golden hour than we've discussed here, but is a doddle to use and produces some very accurate times.
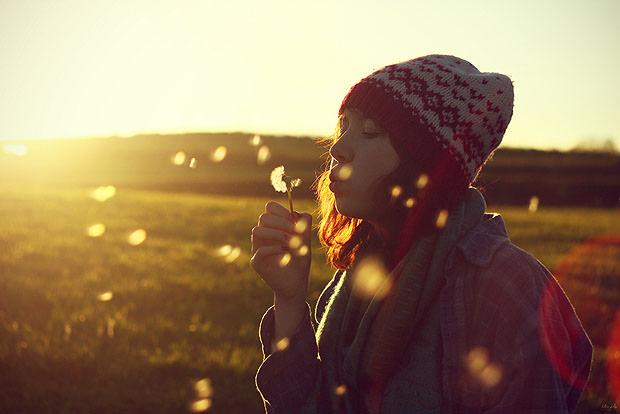
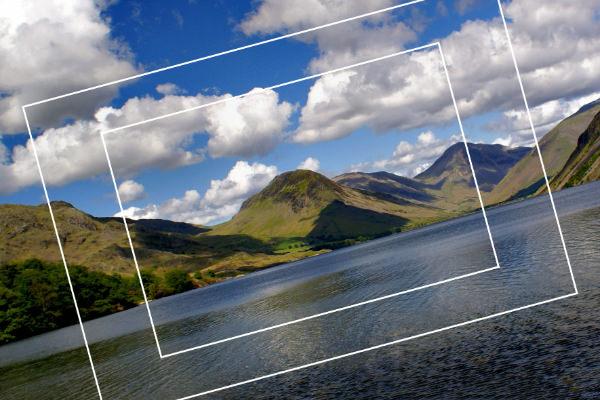
Calculating your local golden hour times will help you plan your shots. Image by Bethan.
Alternatively, if you'd prefer to work things out yourself, you need to start by finding your local sunrise and sunset times - the easiest way is to use an online sunrise and sunset calculator.
Next just do some simple maths - the first golden hour of the day will begin just before sunrise and continue for about an hour. The second golden hour will begin around an hour before sunset and finish just after.
Tips for Shooting
Once you've figured out what you're going to photograph and when you're going to do it, you're nearly ready to get your camera gear together and head out to snap some great pictures. But before you do, bear the following tips in mind, to ensure things go smoothly and you make the most of your time:
Use a tripod - At the times nearest sunrise and sunset your scene will be very dark. However, it would be a shame to miss out on the fantastic colours and textures by waiting for it to get lighter. Set your camera up on a sturdy tripod, set the ISO nice and low, and use a long exposure.
Allow plenty of setup time - When the golden hour starts, it starts surprisingly suddenly, so it's essential that you're prepared. Get to your shooting location with plenty of time to spare, even if that means getting up in the middle of the night.
Keep shooting - During each golden hour, the light changes remarkably quickly, and your scene can look vastly different after just a few minutes. Rather than snapping one or two shots and then heading home, stay for the entire hour and capture the full range of effects.
Take a torch and a hot drink - Dawn and dusk can get very cold and dark. This sounds obvious but it's easy to forget, especially if you're heading out in daylight to photograph sunset. A torch will help you see what you're doing and where you're walking, and a warm drink is a godsend while you're standing around in the cold waiting for your next shot.
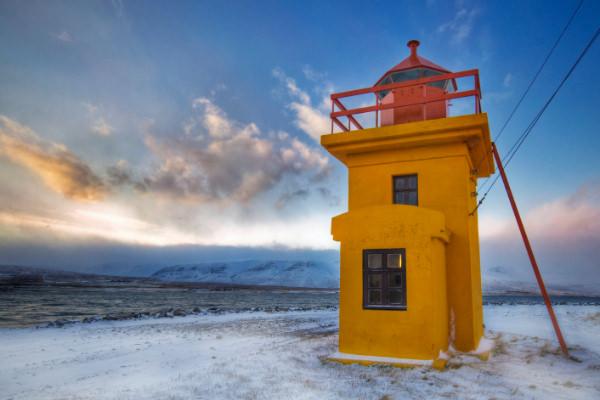
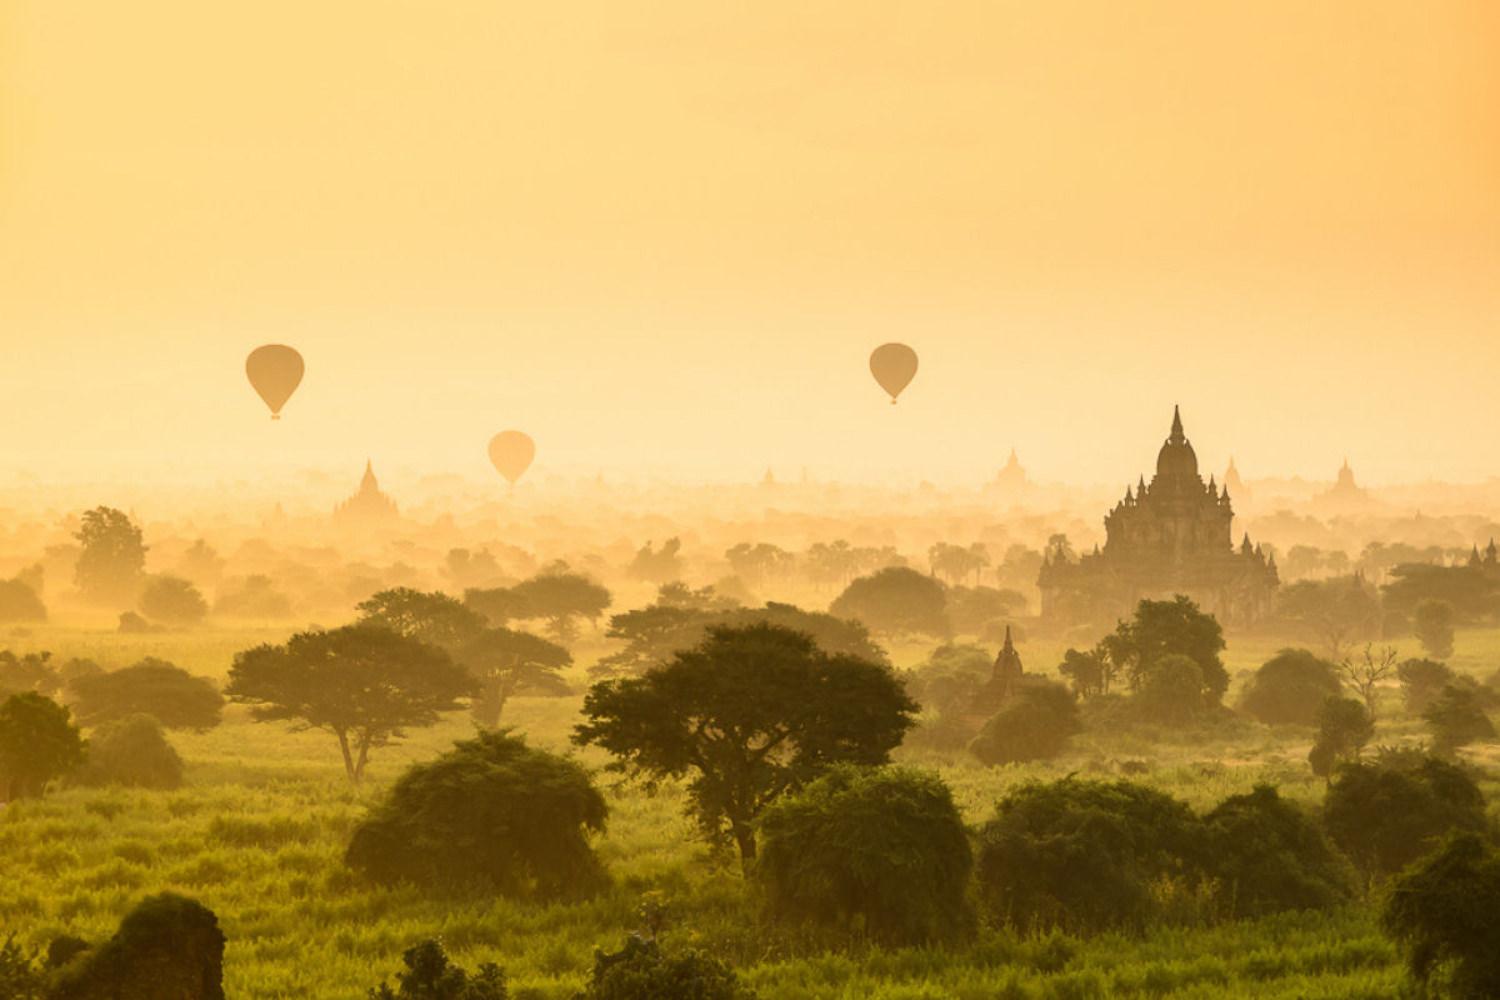
Shooting during one of the golden hours adds colour, texture, and depth to your scene. Image by sibbiblue.
Shooting during the golden hour is without a doubt the one tip that has made the biggest difference in my outdoor photography. It may mean having to go out with your camera at times when you'd rather be curled up in bed, but it's worth the sacrifice. Give it a go and see how it transforms your photography.