A common problem when taking photos of tall buildings is that they can look as if they're leaning backwards. This is known as the "keystone effect" (or the "tombstone effect"), and it can be a very distracting form of distortion in your images.
It's caused by the fact that you have to tilt your camera backwards to fit the entire building in. This puts the building and your lens on different angles, causing parallel lines in the image to converge. It affects all objects but is most noticeable on very tall ones, such as buildings and trees.
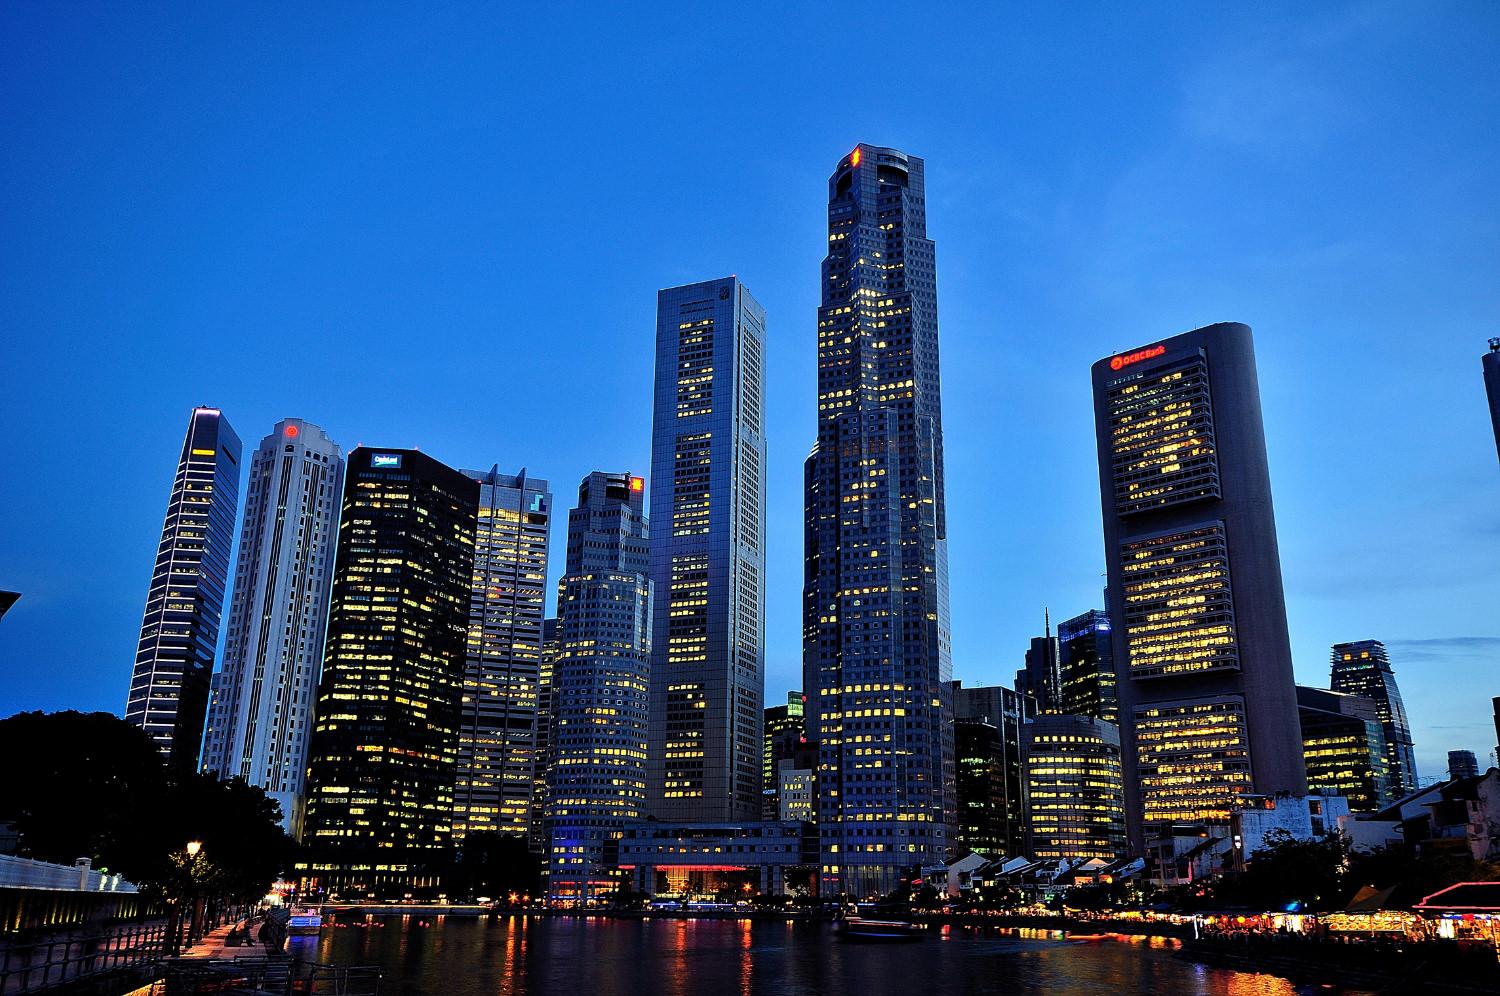
Photoshop's Lens Correction tool makes it very easy to correct keystoning and straighten your buildings up again. I'll demonstrate using the following photo; feel free to download it and follow along with the steps yourself.
The photo we'll be correcting. The buildings are suffering from the keystone effect, where they look like they're tilting backwards. Image by Andy Leo.
1. Enlarge the Canvas
Open the image in Photoshop and select the Crop Tool. Drag a box over the entire image, and then use the adjustment handles to drag each side outwards by a couple of hundred pixels or so. Double click to make the canvas bigger.
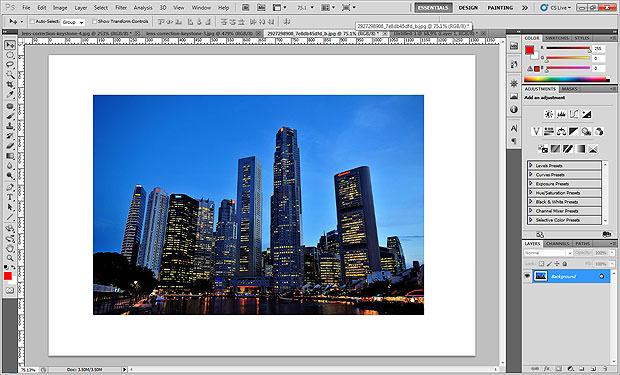
Enlarge the canvas to give yourself some room around the image.
Having a larger canvas will come in handy later when our image is no longer square; it gives us some room to play with and means we won't lose any important parts of the photo.
2. Open the Lens Correction Tool
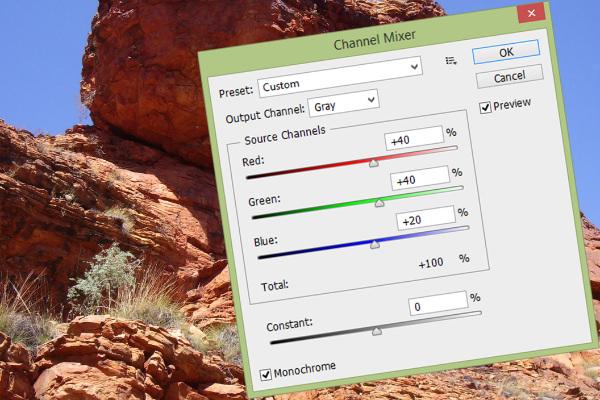
Select Filter > Lens Correction to open the tool. In the right-hand panel, click the "Custom" tab to display a variety of sliders. These let you control several different types of distortion to correct the photo with a high degree of accuracy.
Before making any adjustments, turn on the grid (click "Show Grid" at the bottom of the window). This provides a handy mesh to align our buildings with, so that we can make sure we've got them perfectly straight.
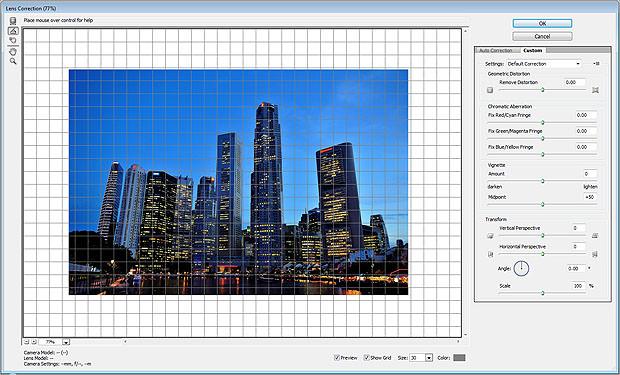
The Lens Correction tool control panel.
3. Correct the Vertical Distortion
The keystone effect is a vertical distortion, so we'll use the Vertical Perspective slider to fix it. Drag the slider to the left and you'll see the buildings begin to straighten up. Keep dragging until the buildings' sides line up nicely with the vertical grid lines. In my case, I've dragged the slider to a setting of "-50".
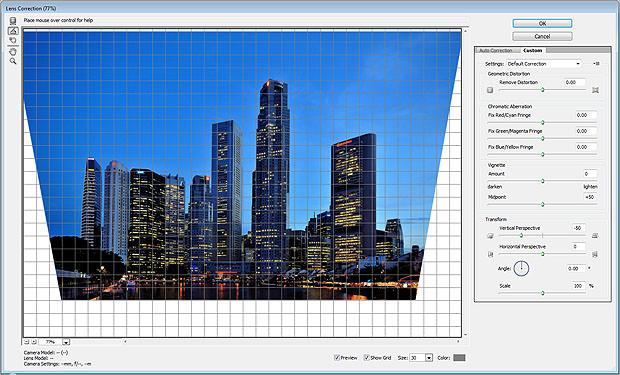
Use the Vertical Perspective slider to straighten the buildings.
4. Crop the Picture
As you can see, by correcting the distortion we've left the sides of the image slanted. The final step is to crop these out, making the photo rectangular again.
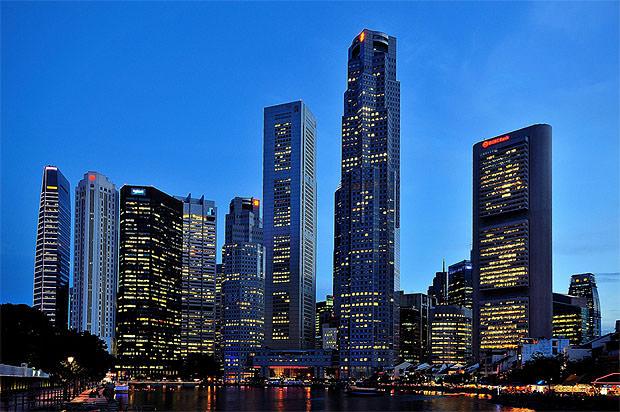
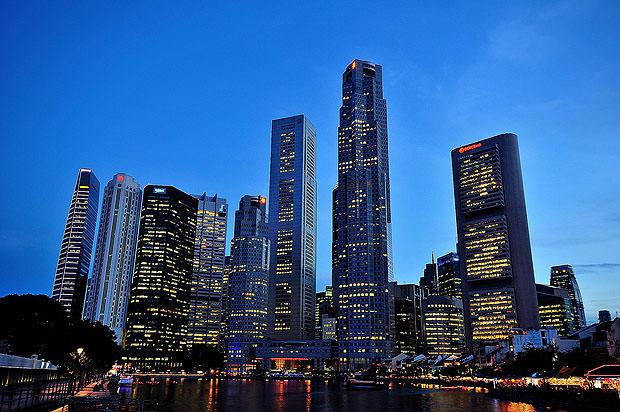
The final image with the keystone effect removed.
If you compare the original and final images you'll see how much difference this has made. The keystoning has been completely removed, leaving us with a more natural-looking photo.
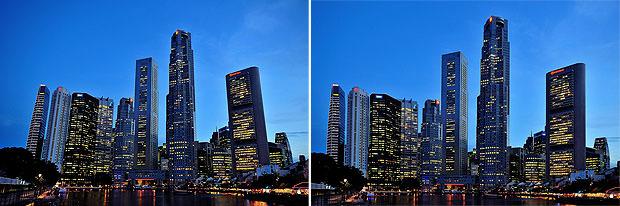
A side-by-side comparison showing the corrected keystoning.
The keystone effect can be highly distracting, and really draw your attention from the main subject of a photo. Now that you know what it is, you'll be able to spot it more easily, and use Photoshop's Lens Correction tool to remove it in a matter of minutes.