I love getting out and about with my camera, but there are times when I just don't feel like battling the elements in search of a good photo. Instead, I would rather experiment with some interesting photography from the comfort of my own home.
Thankfully, there are many creative subjects that you can capture without having to leave the house. Water drops are one of my favourite, as they are easy to shoot but can produce some stunning photographs.
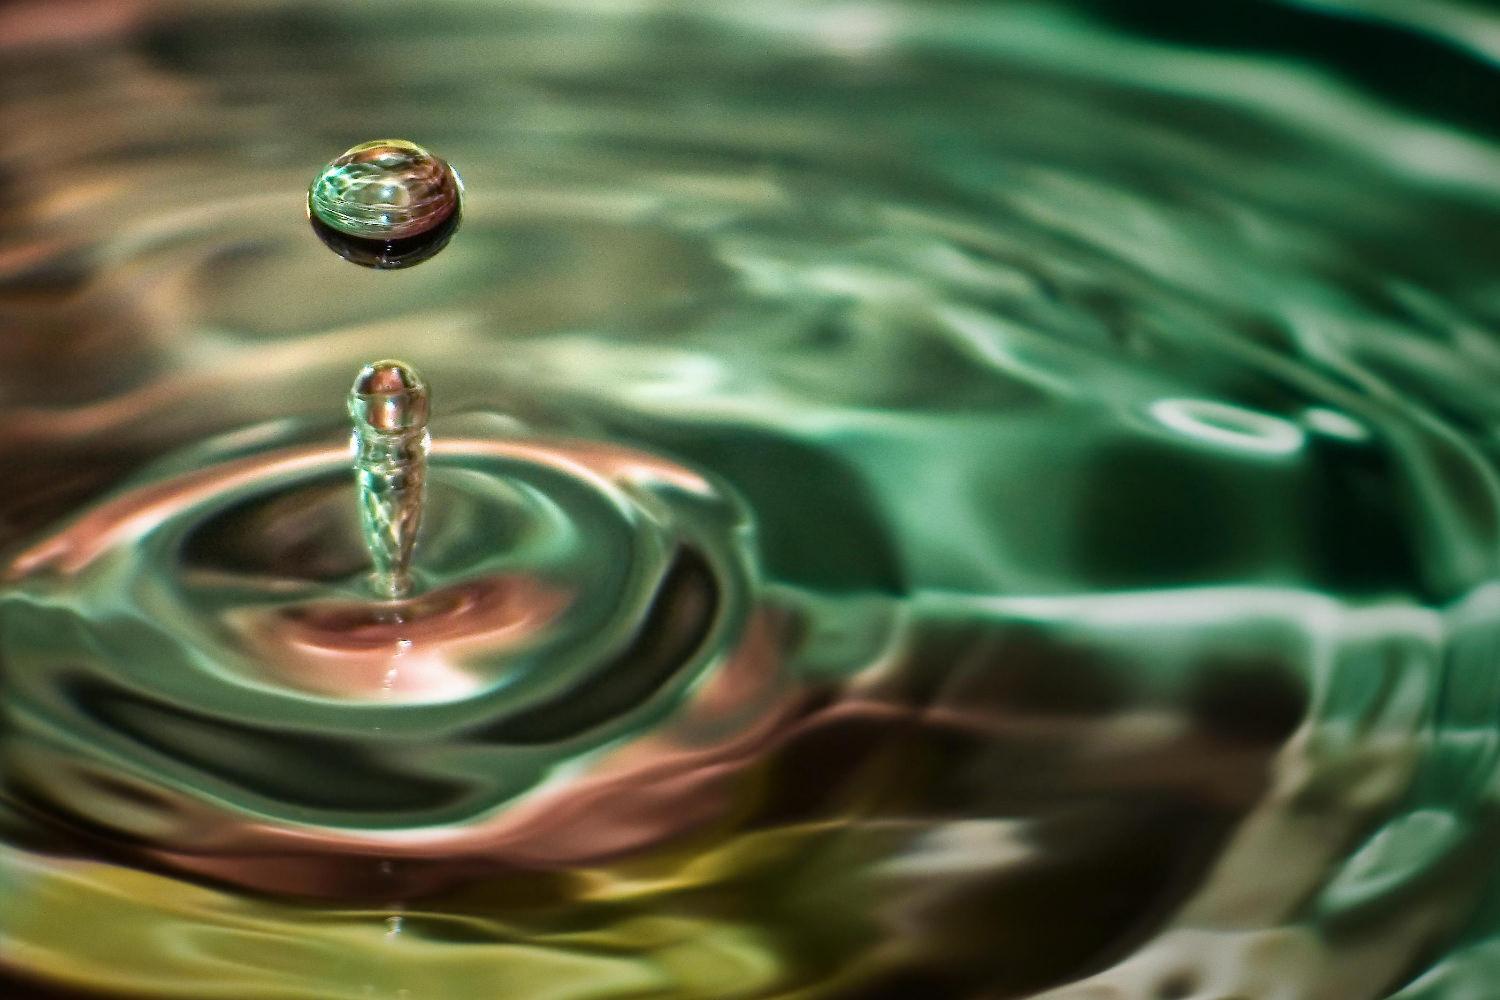
With their fascinating array of colours, reflections, and refractions, they make a great subject to photograph, producing some intriguing, abstract shots. It takes a bit of preparation and patience, but water drop photography can be simple, fun, and highly rewarding.
Design Your Drop
Choose a dish to drip your water drops into. Brightly coloured ones work best, bringing vibrancy to the photo, but you can also use a glass dish with a coloured piece of paper or card behind. Before filling your dish with water, clean it out thoroughly to remove any dust and hairs - these can become very obvious in the final shot.
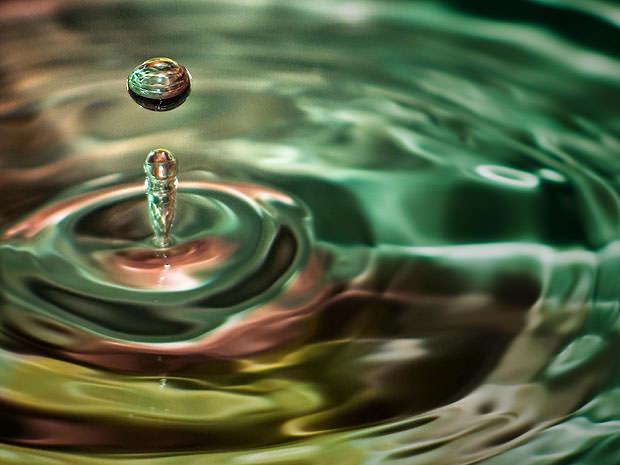
Use a coloured or patterned background to produce beautiful details. Image by Jackson Carson.
You can control the shape of your water drops by adjusting the water depth in the dish - shallow for crown-shaped splashes and deeper for taller columns.
For more interest, set up a coloured or patterned backdrop. This will be blurry in the final photo but will create some interesting reflections and refractions. You can use anything you like, from photographs to wrapping paper and even objects such as flowers.
Setting Up Your Camera
A tripod is essential for water drop photography. It ensures your water drop is always in the frame and in focus. Set it up so that your drop will fall near the centre of the frame and you get a good reflection of the backdrop in the water's surface. Don't worry too much about composition, just try to fit the drop in the frame, you can crop it for better composition later.
Set your camera to manual mode and focus on the point where your drops will be hitting the water - dip a finger into the water to give you something to focus on.
Choose a fast shutter speed (around 1/200th of a second) and an aperture of f4-f5 for enough depth of field. Finally turn on your flash and darken the room - you're ready to shoot!
It's All About Timing
Timing your shot is the hardest part of water drop photography. Using a pipette or eye dropper held at the same height each time, squeeze out a drop of water and try to capture it as it hits the water. Review your photo and try again, adjusting your timing accordingly.
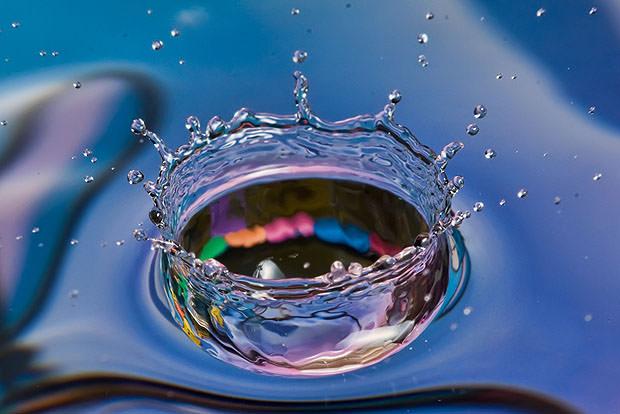
It will probably take a while to get the perfect shot, but it's worth the wait. Image by Andrea.
Take loads of shots because you will end up with a lot of wasted ones, but you should also get a few of them spot on.
To get the most out of your water drop photos, it can be a good idea to adjust levels and curves in a graphics program. This helps you to correct any exposure errors and enhance the colours of your shot.
Try Different Liquids and Containers
There are plenty of liquids besides water that can create splashes, so experiment with them. Use cola, milk or food dye to add even more colour to your photos, or try dropping one liquid into another.
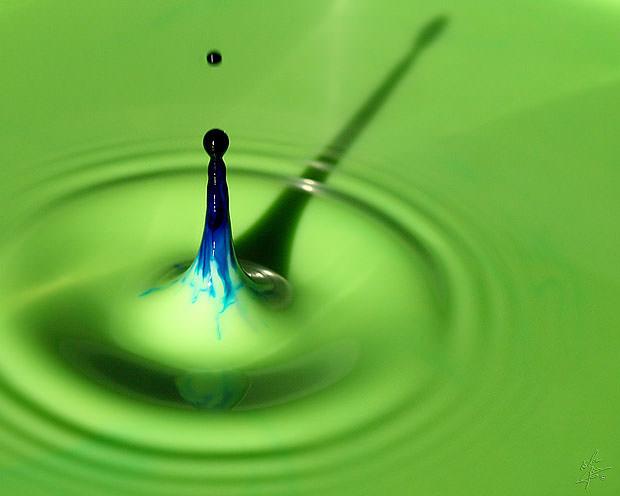
Experiment with different liquids, such as milk, and use food colouring to create some fantastic effects. Image by Eric Bégin.
Try alternative containers such as spoons or ash trays, or add ice to create further interest and change the way your splashes are formed.
Rather than photographing just one drop at a time, try to capture multiple drops, or use your pipette to create a longer stream of water, or even try dropping solid objects rather than water - the possibilities are vast if you use your imagination.