Whenever I go on holiday, one of the things I love to do most is just grab my camera and head out for a day snapping anything and everything in sight. This is a great way to familiarise yourself with a new place, and begin capturing your first impressions.
I particularly love beach photography, because there's such a wide range of fascinating subjects to be found in such a small area. From sand and rocks to shells and sea life, you'll never be short of something to photograph.
The key to beach photography is shooting these objects in a way which tells a story and captures some of the essence of the place. The following guidelines will help you find interesting subjects and frame them in a unique way.
Find an Interesting Subject
When photographing beaches it can be our first instinct to just point the camera at a large expanse of sand or sea and shoot away. While this might look great at the time, it usually produces a disappointing, flat-looking photo which lacks an interesting focal point.

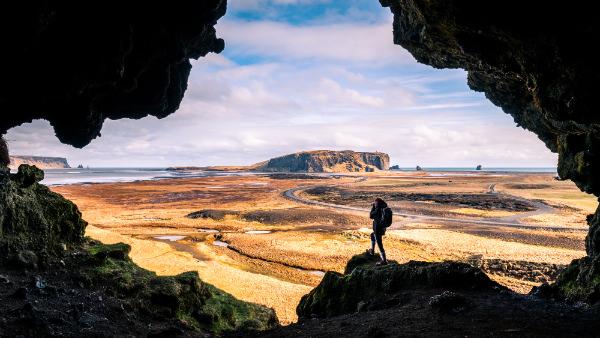
Find a point of interest to base your photo around. Image by Paulo Brandao.
Therefore the first thing to do is find something of interest which will act as the main feature in your beach photo, and then base your composition around that. Here are some ideas:
Sand - Being a soft substance, beach sand is constantly being pushed by the waves, blown by the wind and trampled under foot, creating an ever-changing array of interesting shapes and textures. Look for eye-catching dunes, or channels where water is flowing back to the sea. Also consider man-made sand structures such as sand castles and sculptures, and find a way to base your beach photo around them.
Rocks - Beaches are full of rocky areas, from craggy cliffs to clusters of rock pools to smooth, wave-worn pebbles. Each has a distinct appearance and a different visual appeal. A personal favourite of mine is taking a close-up photo of some rounded pebbles in the wet sand.
Debris - The ocean washes all sorts of interesting debris onto beaches, such as chunks of driftwood or intricate shells. You can photograph them as they lie, or arrange them into a more abstract pattern for a close-up shot.
Wildlife - Beaches are packed full of wildlife if you look in the right places. Rock pools are often teeming with creatures, such as starfish, crabs, barnacles and birds, which can make great beach "character studies".
Water - Of course water is an important part of any beach, and can really add to a photo. Crashing waves, streams and tranquil pools all make perfect focal points.
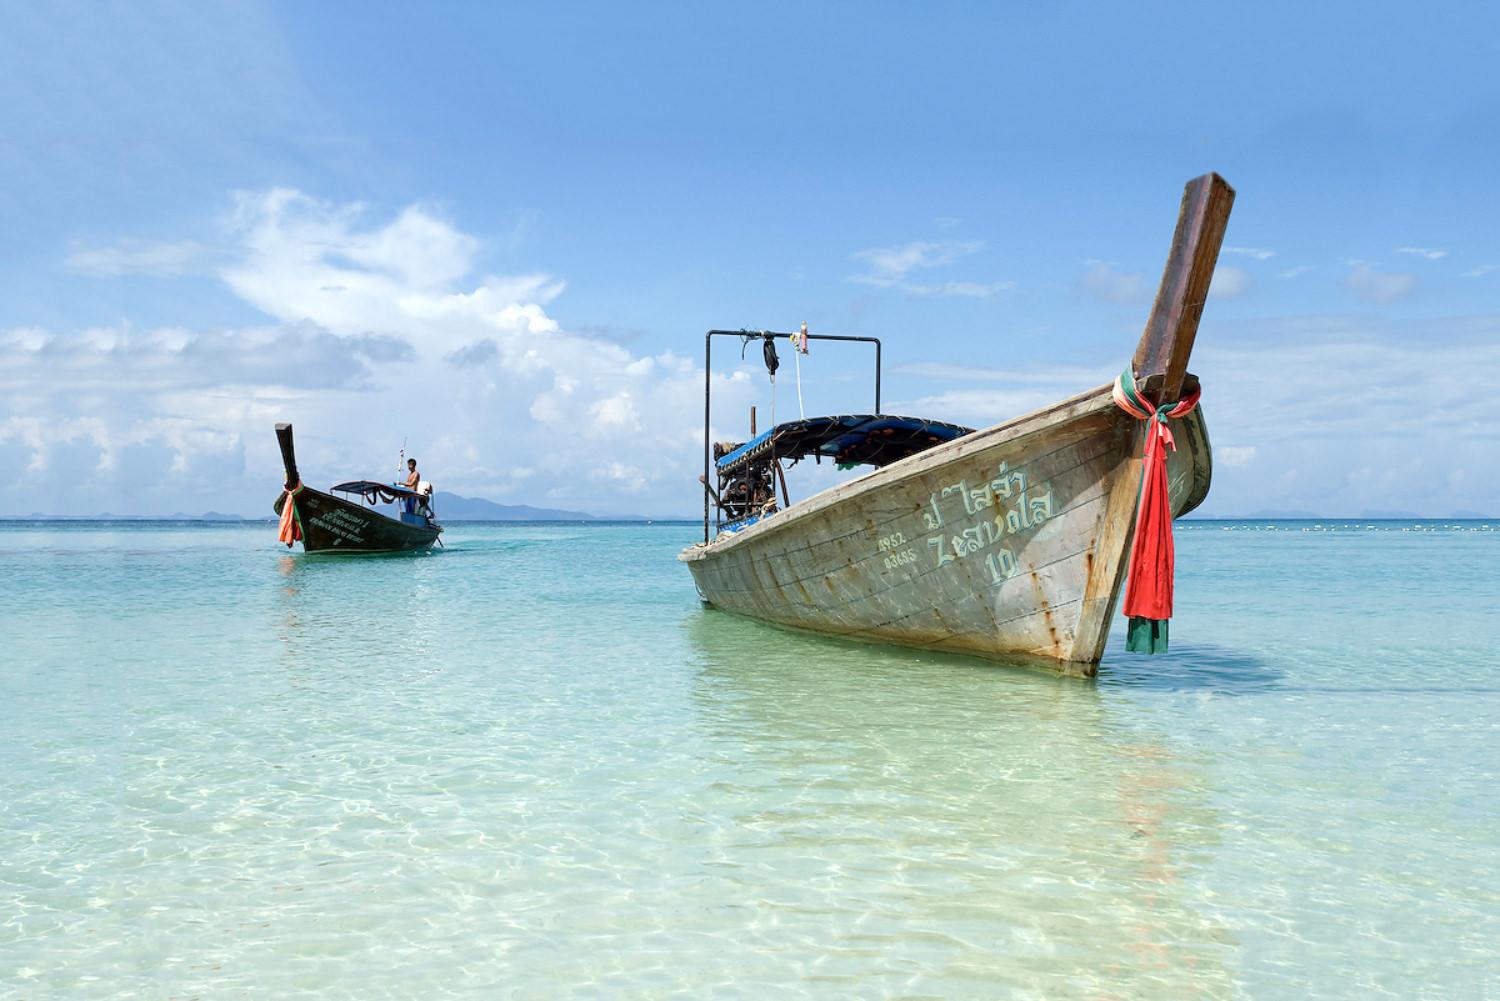
Man-made objects - Most beaches, particularly in touristy areas, contain some man-made structures, such as beach huts or fishing boats. Because they are constantly exposed to the elements they're often quite battered by the weather, giving them bags of character.
Composition
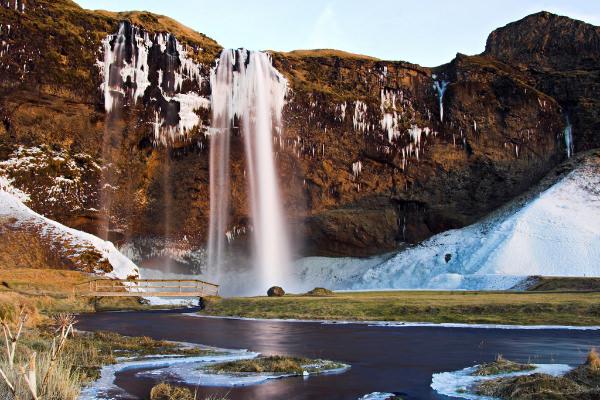
As with any type of photography, composition is an important part of beach photography. Look for a composition which will lead the viewer's eye into the scene. This can often be best achieved by including some sort of foreground interest, or by using leading lines, such as the curving shore line or a trail of seaweed, to create a path into the photo.
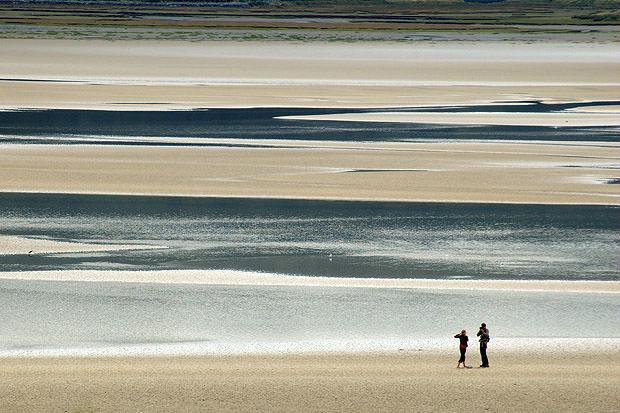
Include foreground and background objects to draw the viewer's eye into the photograph. Image by Toby Keller.
When shooting a beach photo which includes the sea and sand, remember the rule of thirds and place the horizon off-centre in the frame. This creates a more balanced, natural looking shot than if you were to place the horizon smack bang in the middle of the frame. Also make sure your horizon is straight.
Lighting
Most people photograph beaches in the middle of the day, when the sun is glaring. The problem with this is that it can produce some very harsh lighting, with very bright highlights and very dark shadows. This will give you a photo with lots of contrast, making it easy to lose detail in either the bright or dark areas.
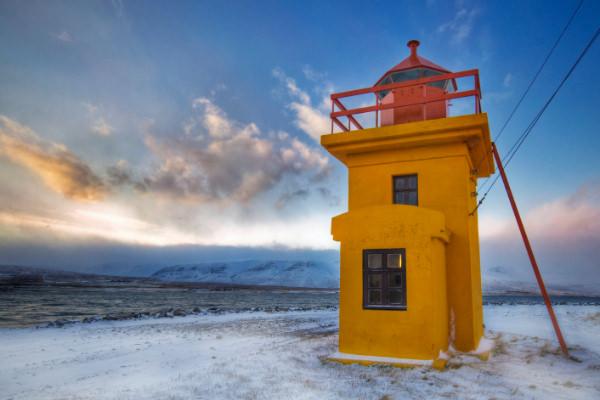
Instead, try shooting early or late in the day, or even around sunrise and sunset, for a softer light quality with less contrast. These times of day also produce some fantastic colours, with long shadows that bring out the beach's texture, adding depth.
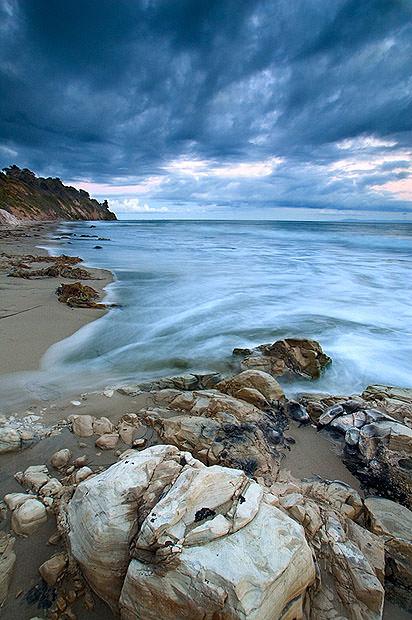
Avoiding the harsh midday sun allows you to capture your scene with softer lighting. Image by Today is a good day.
Use a Polarizing Filter
Polarizing filters work wonders in beach photography, enhancing the rich blue of the sky and generally making the colours more bright and vivid. They can also be used to affect the appearance of water - turn the filter one way to reduce reflections, allowing you to see right through the water to the sea bed, or turn it the other way to increase the water's "sparkle".
Getting the Right Exposure
Sand, like snow, is a highly reflective substance, sending a lot of light to your camera's sensor. If you put your camera in auto exposure mode it will often over-compensate for this brightness, underexposing and leaving you with a dark and dull beach photo. Try adding a stop of so of exposure compensation to restore the natural vibrancy of your beach shots.

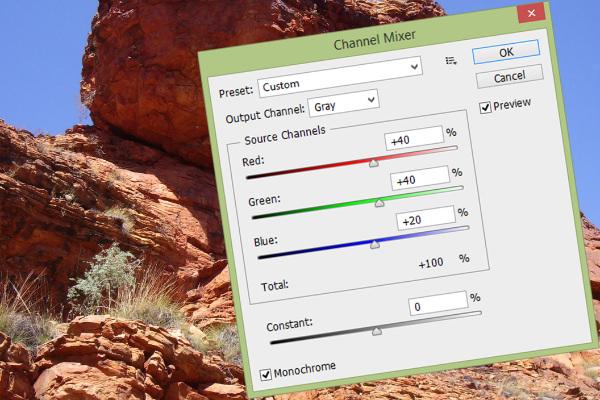
Experiment with different exposure settings until you find the right ones for your beach photograph. Image by Muha.
For areas with lots of contrast, such as the border between brightly lit sand and a shadowy area, you probably won't be able to exposure both areas properly. Choose which area you want properly exposed and use spot metering to make sure it comes out right.
Shooting your beach photos away from the bright midday sun will also help you to expose the whole scene properly.
Protect Your Camera from Sand
One of the surest ways to kill your camera is to get sand inside it. Keep this in mind at all times when shooting beach photos and do your best to protect it - always wear the safety strap around your wrist or neck so you don't drop it, put it in its protective bag whenever you aren't shooting, and never, ever put it down in the sand.