There are many reasons why you might want to photograph your jewelry. Perhaps you run a business and need to photograph your products for your website; maybe you have a special heirloom you want to immortalise for posterity; or you might just want to experiment and have some fun.
Whatever your reasons, jewelry photography can be surprisingly difficult - simply placing it on a table and snapping away is likely to result in a series of dull, lifeless, uninspiring photos that doesn't show your jewelry in its best light.
Taking photos of jewelry requires some careful preparation and the patience to experiment with variations of lighting, positioning, and composition. By doing so, you'll ensure that your photos come out sharp and stunning.
It's All About Lighting
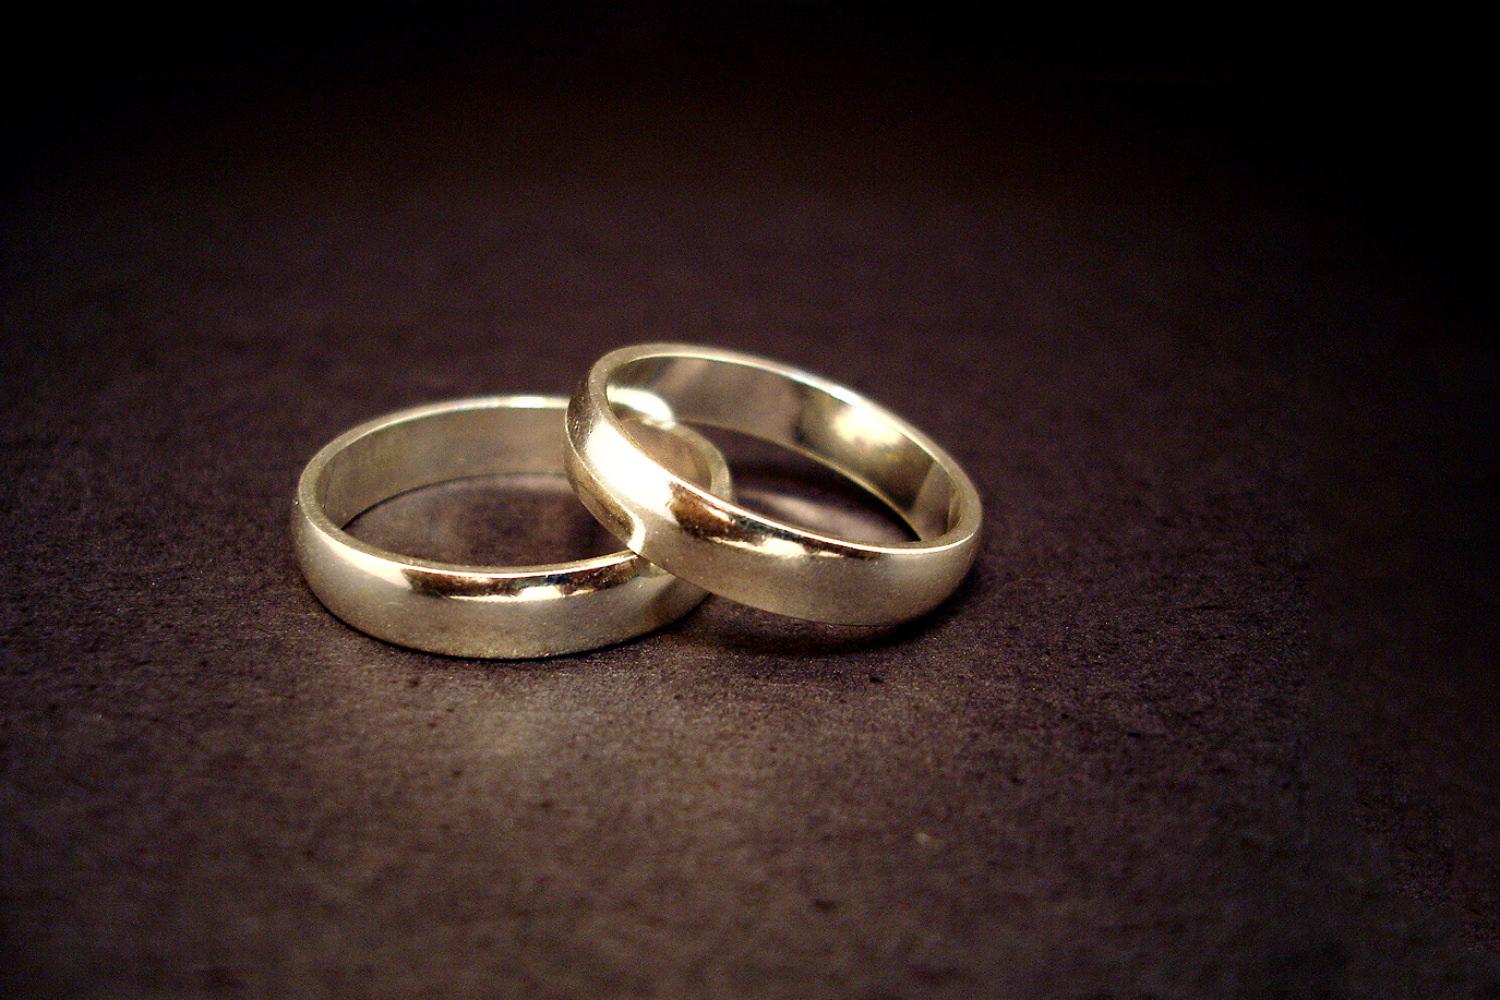
I can't over-stress how important lighting is in jewelry photography. Hard, dark shadows (like those produced by your camera's flash) can easily overpower the delicacy of the jewelry, distracting your attention away from what really matters. For this reason it's important to light your jewelry with a soft light, and from all directions.
Diffuse lighting reduces distracting shadows. Image by Allison Fomich.
The best way to achieve this is by using a light tent. To use it you simply place your jewelry inside, and set up your lighting on the outside. The thin walls allow the light through, but also scatter it, creating a diffused, soft light which lights the jewelry from all directions.
If you don't want to splash out on a light tent, you can always make your own light tent - it's cheap and very effective.
Set Up Your Camera
A tripod is an essential bit of kit for jewelry photography. You will be shooting very close up, and possibly using quite long exposure times. This makes camera shake a real possibility, and blur can easily ruin a jewelry photo.
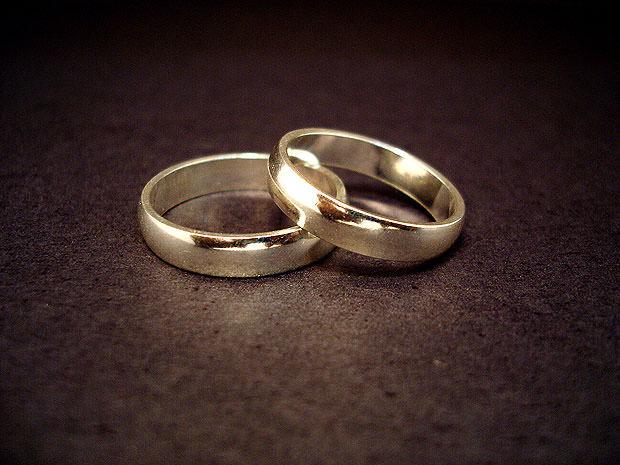
Use sharp focusing and a narrow depth of field to focus the viewer's attention. Image by Jeff Belmonte.
Focusing - use your camera's point focusing mode, or better still use full manual focusing. Focus on the most important part of the jewelry, such as the gem on a ring or the face on a watch.
Aperture - the aperture size depends on the effect you want. If you want your jewelry to be completely in focus, use a small aperture. If you want just a part of your jewelry to be sharp, with the rest blurred, use a wider aperture. Experiment with different sizes to see which shows off your jewelry best. Personally I like to use an aperture small enough to keep the entire piece of jewelry in focus, but large enough to blur the background. Most digital SLRs offer an aperture priority mode which is perfect for this.
Exposure time - if your camera is in automatic mode, it will try to compensate for the very light background by reducing the exposure time. This will leave you will a dull, grey image. If you have manual mode, use this instead and keep increasing the exposure time until you get a photo with the right colour background. If you are stuck with auto mode, use your camera's exposure compensation to brighten the scene up.
Post Processing
Jewelry photography calls for absolute perfection and, no matter how carefully you set up your photo, it is rare to achieve it straight out of the camera. Use a software package like Photoshop or GIMP to crop your image, adjust the levels, and sharpen everything up.
Taking It A Step Further
Once you've mastered the basics you can move on to some more adventurous stuff:
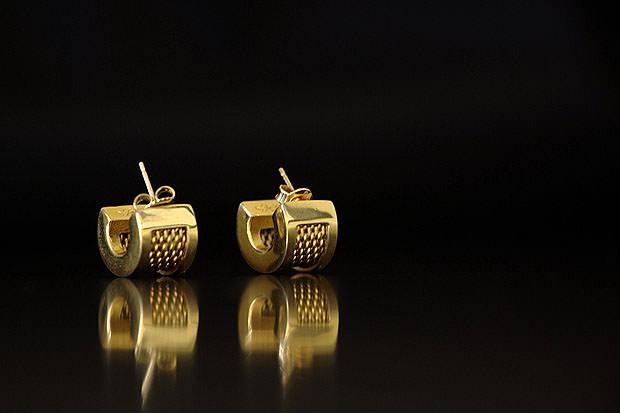
Place your jewelry on a reflective surface, such as a black or white acrylic "riser", to add a reflection underneath your jewelry. This technique is commonly used by professional jewelry photographers.
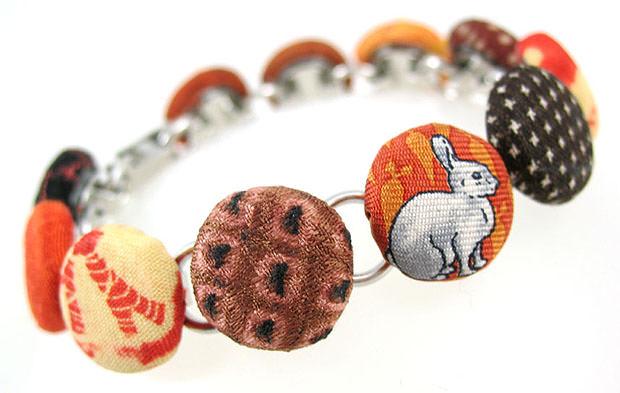
Experiment with creative compositions, and use different backgrounds and surfaces to alter the feel of your shots. Image by Jonathan Cohen.
Rather than just lying your jewelry down, use a small blob of wax to make is stand up. This can be particularly effective for items of jewelry such as broaches or pendants, allowing you to show off their detail in a different way.