Panoramas are one of my favourite ways to show off a scene. They contain so much interest and detail that they practically beg you to explore them. This little tip adds an extra pinch of creativity, turning standard panoramas into miniature planets that really have the "wow" factor.
The technical name for this technique is "stereographic projection" but don't let the name put you off - it's very simple to do and only takes 5 minutes. I'll be using Photoshop in this example but you can do it in most graphics programs, including GIMP, which is free.
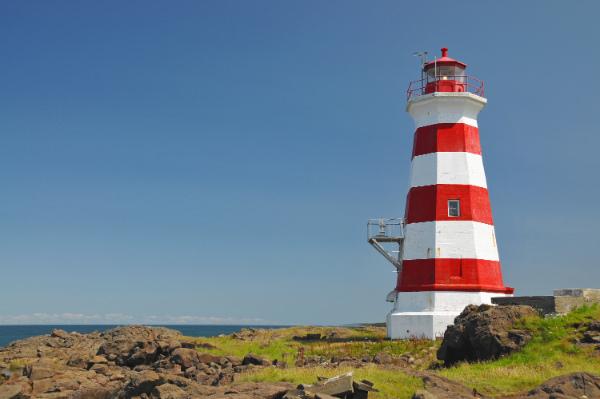
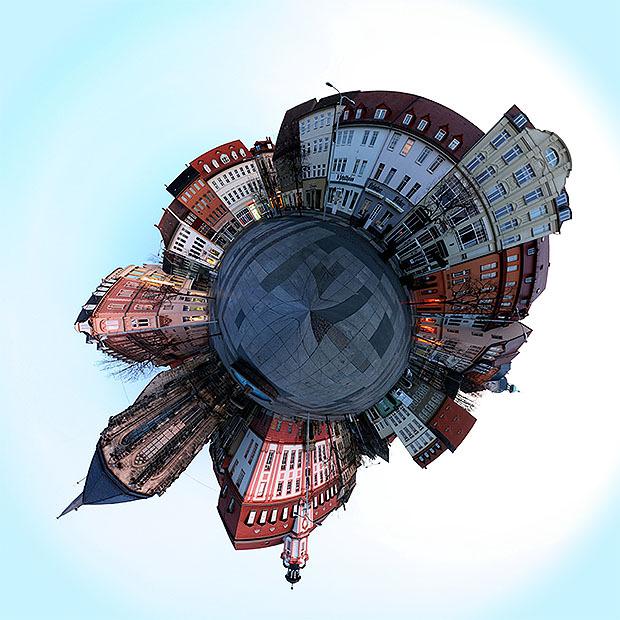
Turn your panoramas into eye-catching miniature planets. Image by Benjamin Jopen.
Choosing a suitable photo
Virtually any panorama can be turned into a little planet photo, but certain images tend to work better than others. Here are the things you need to consider:
-
The viewing angle - 360 degree panoramas work best because their edges line up perfectly, making for a seamless planet photo. Narrower angles can work but you might need to do some work to match colours and textures where the edges meet.
-
Image width - The aspect ratio (width divided by height) of your photo affects how smooth the planet looks. Wider images tend to produce smoother planet surfaces, while narrower panoramas give more height variation. Both can look great.
-
The sky - Your panorama's sky will be severely distorted in the final image. A clear sky tends to produce the best results, although clouds can give an interesting, stretched effect.
-
The ground - The bottom of your photo will be squashed together to form the centre of the planet, and this can lead to some extreme distortion. As with the sky, a flat colour or simple texture such as grass, sand or water looks best.
-
The horizon - This needs to be perfectly level so the edges of the picture meet neatly. If yours don't then you can easily rotate and re-crop in Photoshop.
This might sound like a lot of criteria to meet, but you'll find that the majority of panoramas will be suitable. If in doubt, give it a go - breaking the above "rules" can sometimes lead to weird and wonderful effects that you wouldn't have got otherwise, so don't be afraid to experiment.
If you're struggling to find a suitable photo then there tons freely available under the Creative Commons licence, such as this selection on Flickr. I'll be using the following photo which you can download here if you want to follow along.
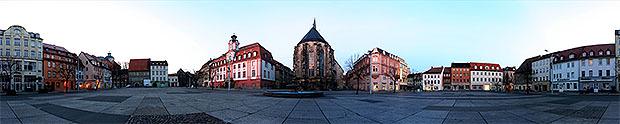
This is the photo I'll be using. Image by Rudolf Schuba.
Making your planet
Got your image? Good. Time to turn it into a planet.
1. Make the image square
Because of the way stereographic projections are made, we need to start with a square image. Go to Image > Image Size. Uncheck "Constrain Proportions" and set the height to match the width.

This will squash your image and make it look distorted. Don't worry, this is normal.

2. Apply a sky gradient
Ths step is optional but will prevent the corners of the final image looking stretched and warped.
Select the gradient tool and set the left and right colour sliders to match the dominant sky colour. Set the left-hand opacity slider to 100% and the right-hand one to 0%.
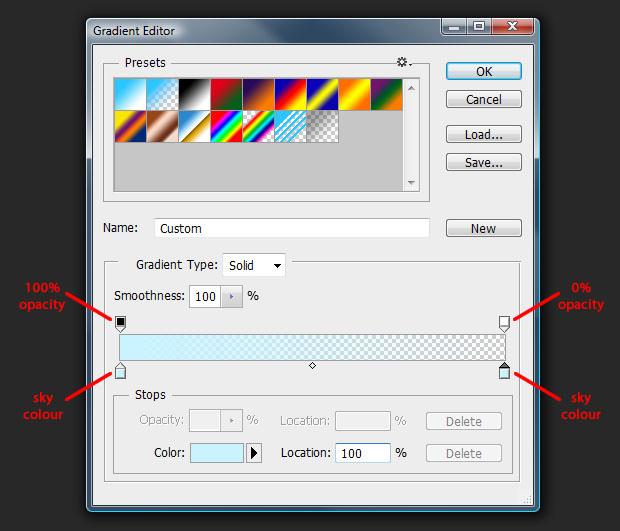
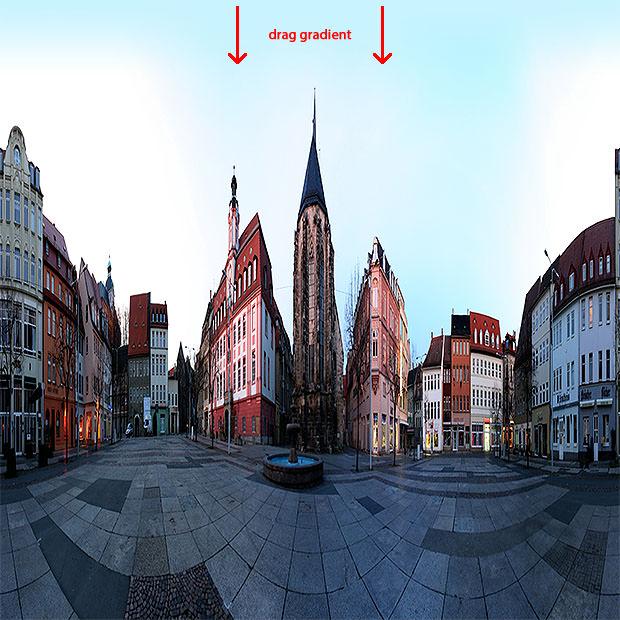
Drag a gradient from the top of your photo downwards a little distance, to produce a smooth transition to the solid colour.
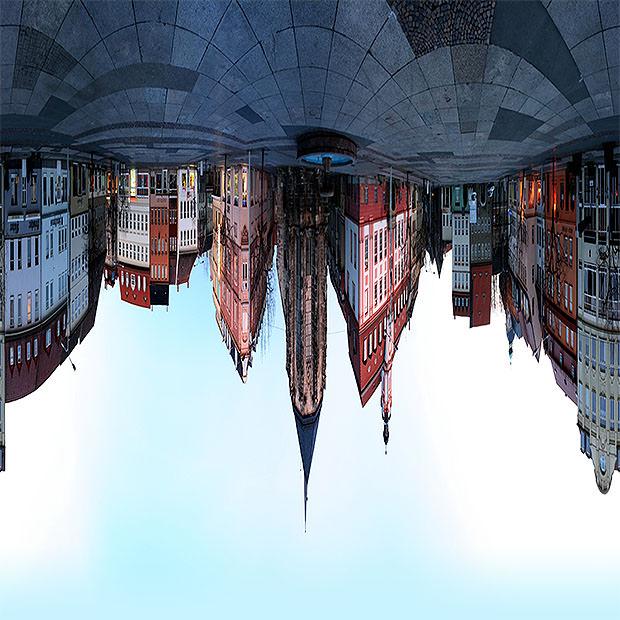
3. Turn the photo upside down
Use Image > Image Rotation > 180° to flip your image upside down. This ensures it wraps the right way when we turn it into a planet.
4. Apply the Polar Coordinates filter
Go to Filter > Distort > Polar Coordinates. Make sure "Rectangular to Polar" is selected and hit "OK".
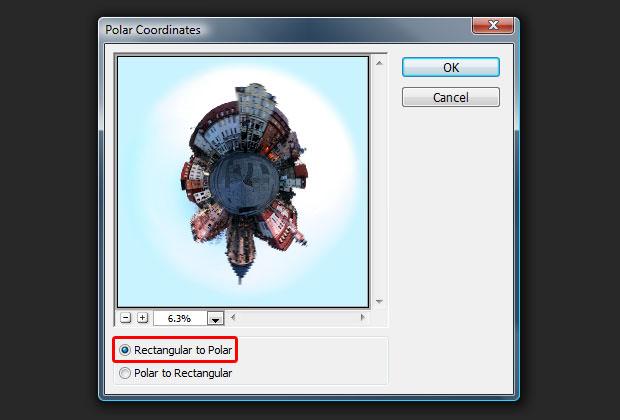
Voilà;! Your panorama is now wrapped into a circle and looks like a little planet photographed from above using a fisheye lens.
5. Finishing touches
Check the upper centre of your photo to make the sure things look smooth where the panorama's edges were joined. Use the Clone Stamp or Healing Brush to fix any problems.
If you'd prefer your planet to be a different way round, now is the time to rotate it. This will leave white corners, but you can fill those with the same colour you used for the gradient. Re-crop your image and you're done!
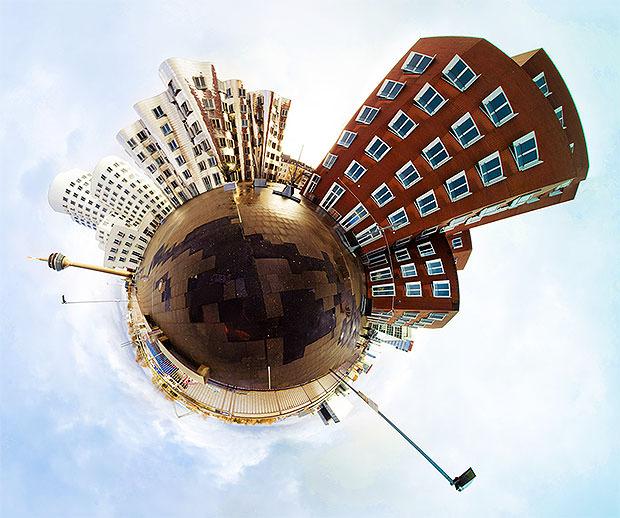
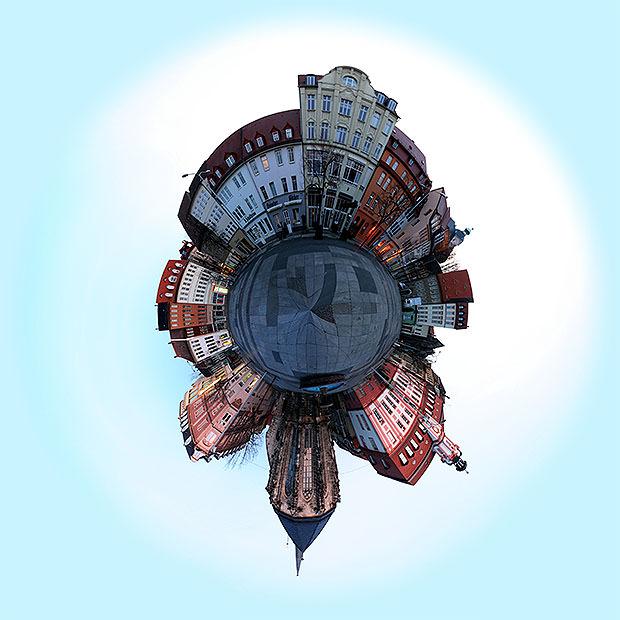
Our finished planet photo.
Creating little planet photos is extremely easy once you get the hang of it. You can produce some fantastic effects by experimenting, so don't feel you have to stick rigidly to the above instructions. If you come across any interesting variations then please share them in the comments.
Examples and inspiration
Here are a few examples showing what's possible when you combine this technique with a little bit of creativity and imagination.

Use a photo with varied terrain to create a jagged asteroid effect. Original image by Victor Engmark.
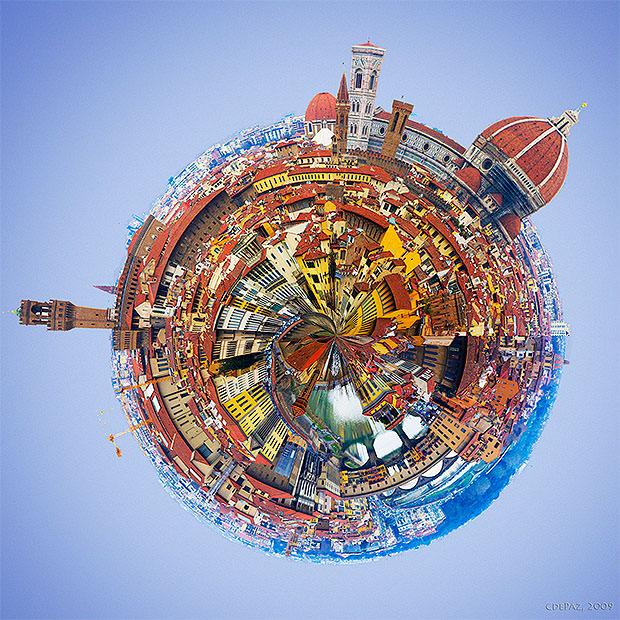
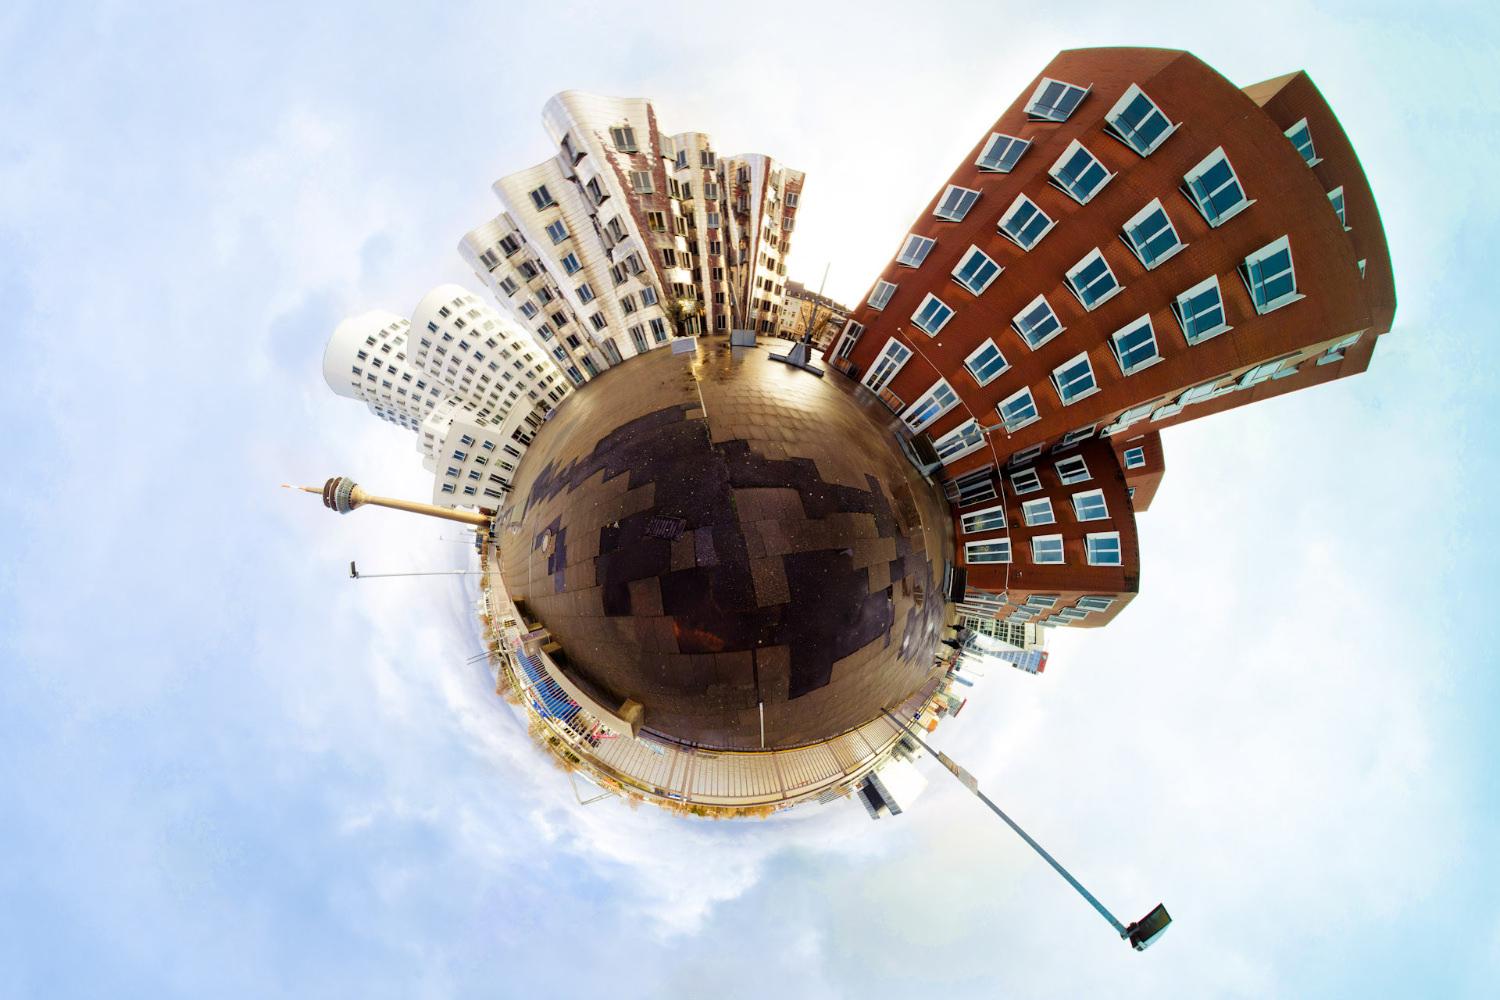
Include buildings right up to the foreground to make a densely populated planet photo. Image by Carlos de Paz.
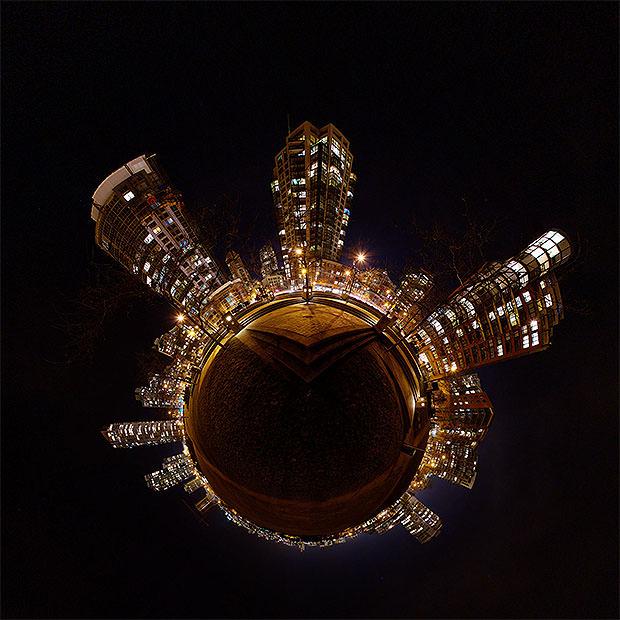
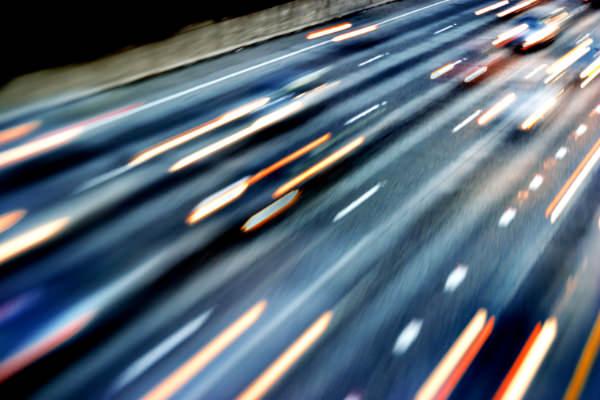
Shoot your panorama at night to give the effect of a planet floating in space. Image by MyPlanet 360.
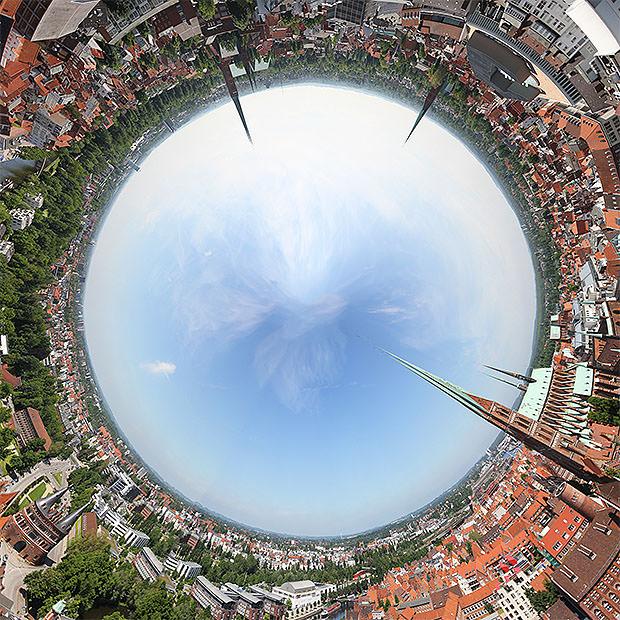
Skip step 3 to create an "inside out" planet photo that looks like you're lying on the ground looking up at the sky. Original image by Christian Holmér.