Cross processing is a technique that was originally developed for processing film images. By processing the film in the wrong type of chemicals (e.g. processing film in slide chemicals), you could create a highly stylised image with drastically different colours and contrast.
However, cross processing film is a largely hit-and-miss affair which is very hard to judge, and requires a lot of experimentation to get the desired effect.
Nowadays we can simulate cross processing digitally in programs such as Photoshop, or any other which includes a Curves function. Digital cross processing has the added benefit that we can easily tweak the results until we get the effect we desire.
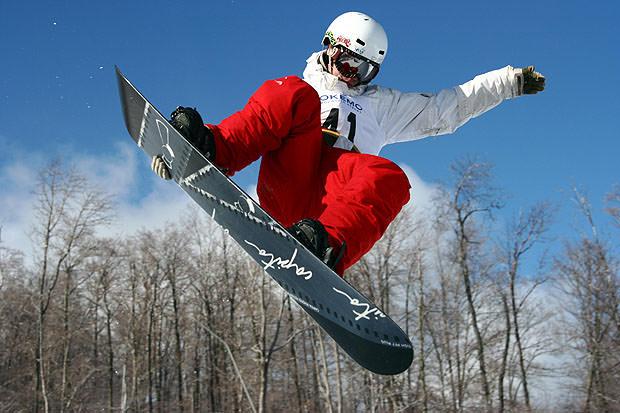
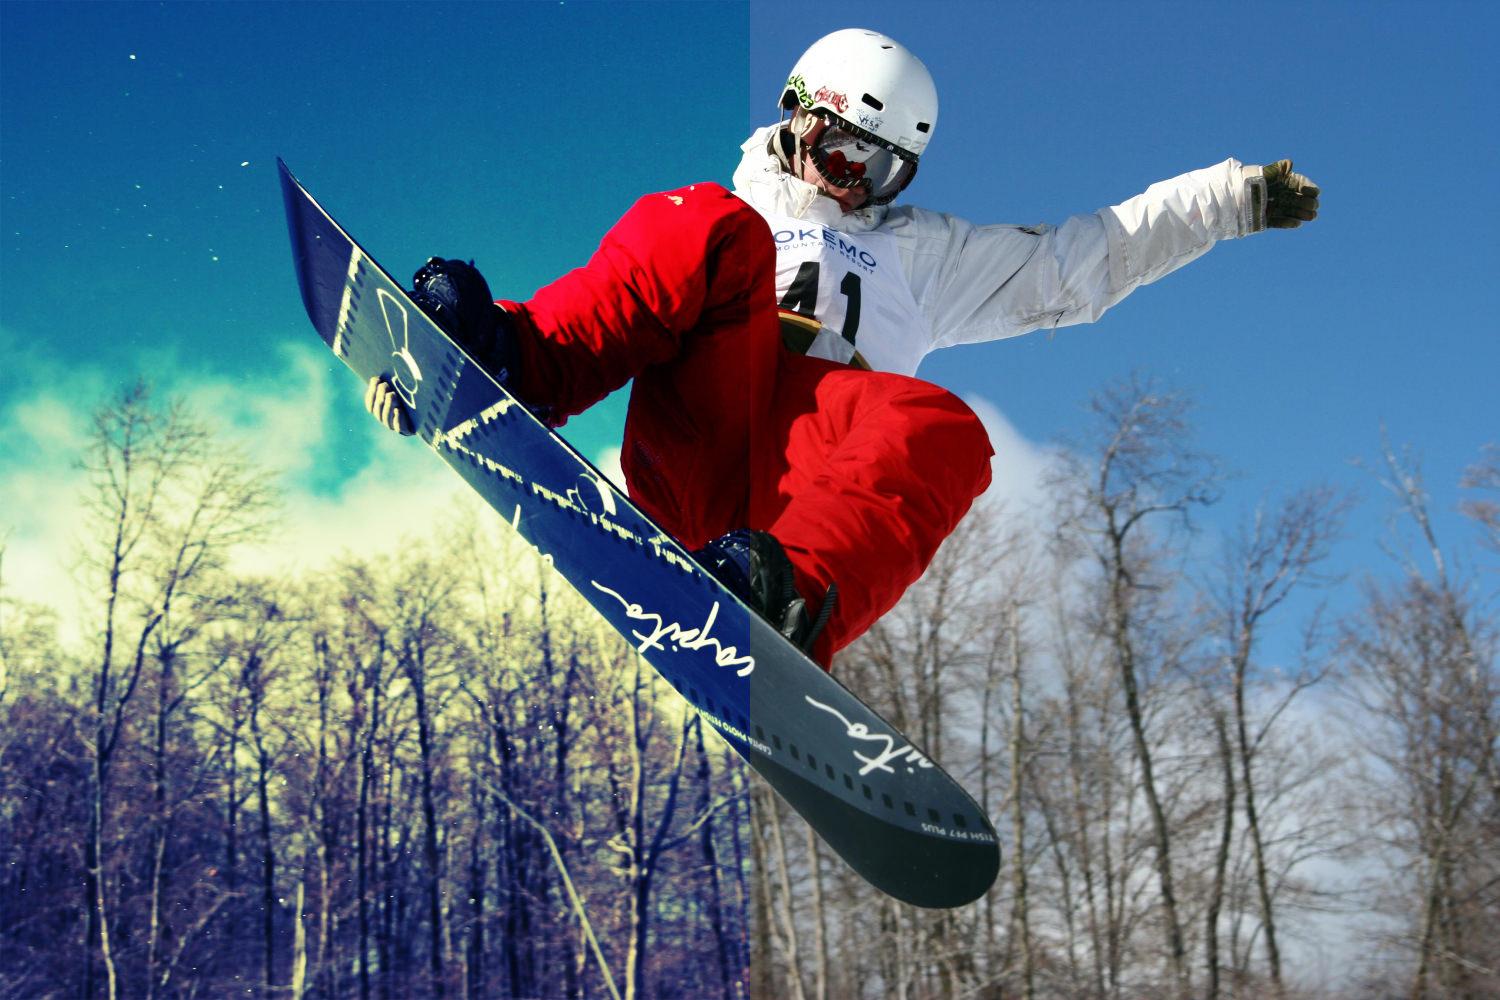
This is the photo we'll be cross processing using Photoshop. Image by M Pincus.
How to Digitally Cross Process an Image in Photoshop
-
Load your image.
-
Add a "Curves" adjustment layer by going to Layer > New Adjustment Layer > Curves or clicking the "Create New Fill or Adjustment Layer" icon in the "Layers" panel.
-
Red. Select the "Red" channel, and click on the curve to add two new handles. Drag the left-hand handle down and the right-hand one up to create an S-shaped curve as shown.

Red curves channel.
- Green. Again, add two new handles, but this time leave the left-hand one roughly where it is, and drag the right-hand one upwards to boost the greens in the highlights.
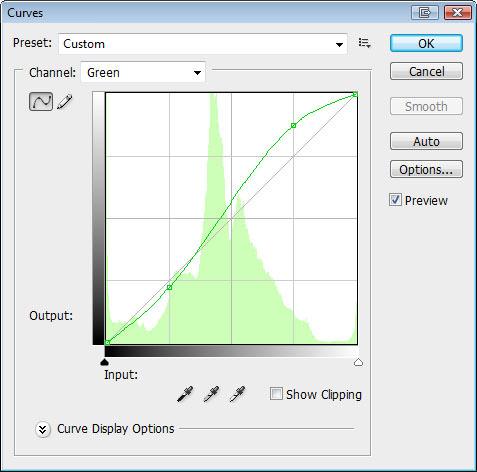
Green curves channel.
- Blue. This time drag the left-hand handle up and the right-hand one down to create an inverted S-shape.
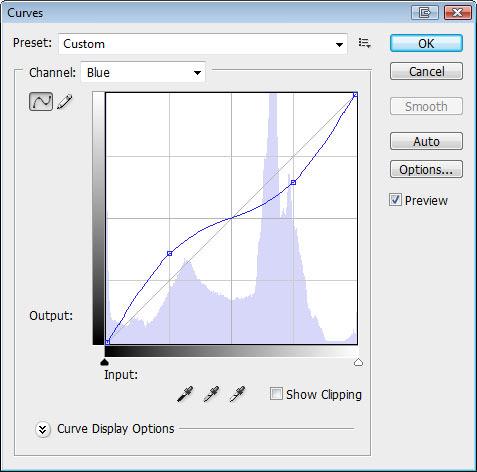
Blue curves channel.
- RGB. Give the "RGB" curve a very slight S-shape to increase contrast. Don't be afraid of losing detail in the highlights and shadows; it all adds to the effect (although don't overdo it).
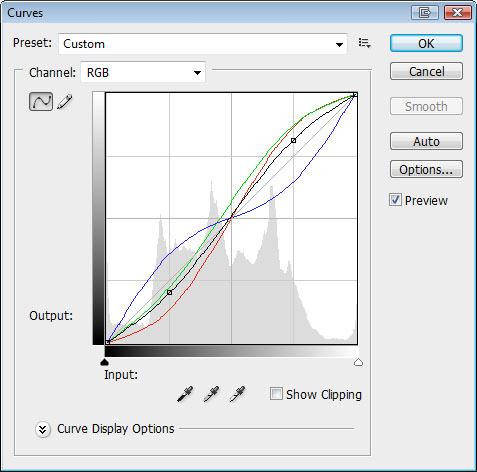
RGB curves channel.
- Done! Click OK and save your image.
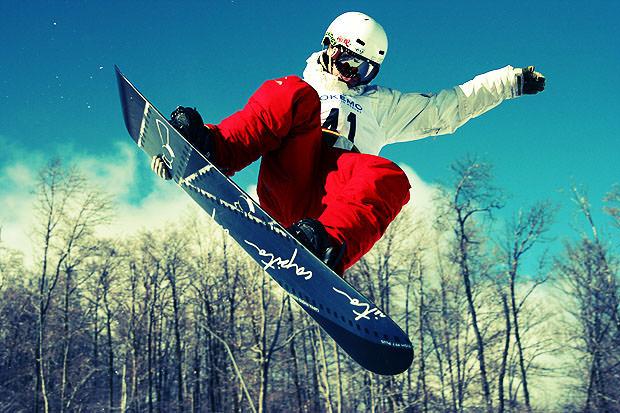
The final image. The distorted colours and increased contrast produce a highly stylised effect.
Creating a Cross Processing Action
If you intend to use roughly the same RGB curves to cross process several images, you can save yourself some time by saving the entire process as a Photoshop action. What this basically means is that rather than having to manually adjust the curves each time, you just click a button and it's all applied automatically.
To create an action, start with your basic image. Go to Window > Actions (Alt+F9) to bring up the Actions panel. Click Create New Action, give your action a name (e.g. Cross Process), and click Record. Any adjustments you make from now on will be recorded as part of the action.
Carry out your curves adjustments as before, and when you're done click the Stop button in the Actions panel. Now whenever you want to apply your Cross Process Action, just bring up the Actions panel, select the Cross Process Action, and click Play.
Alternatively, download my Cross Process Action to use yourself. To install, open the Actions panel, click the arrow and select Load Actions, then browse to the action file.