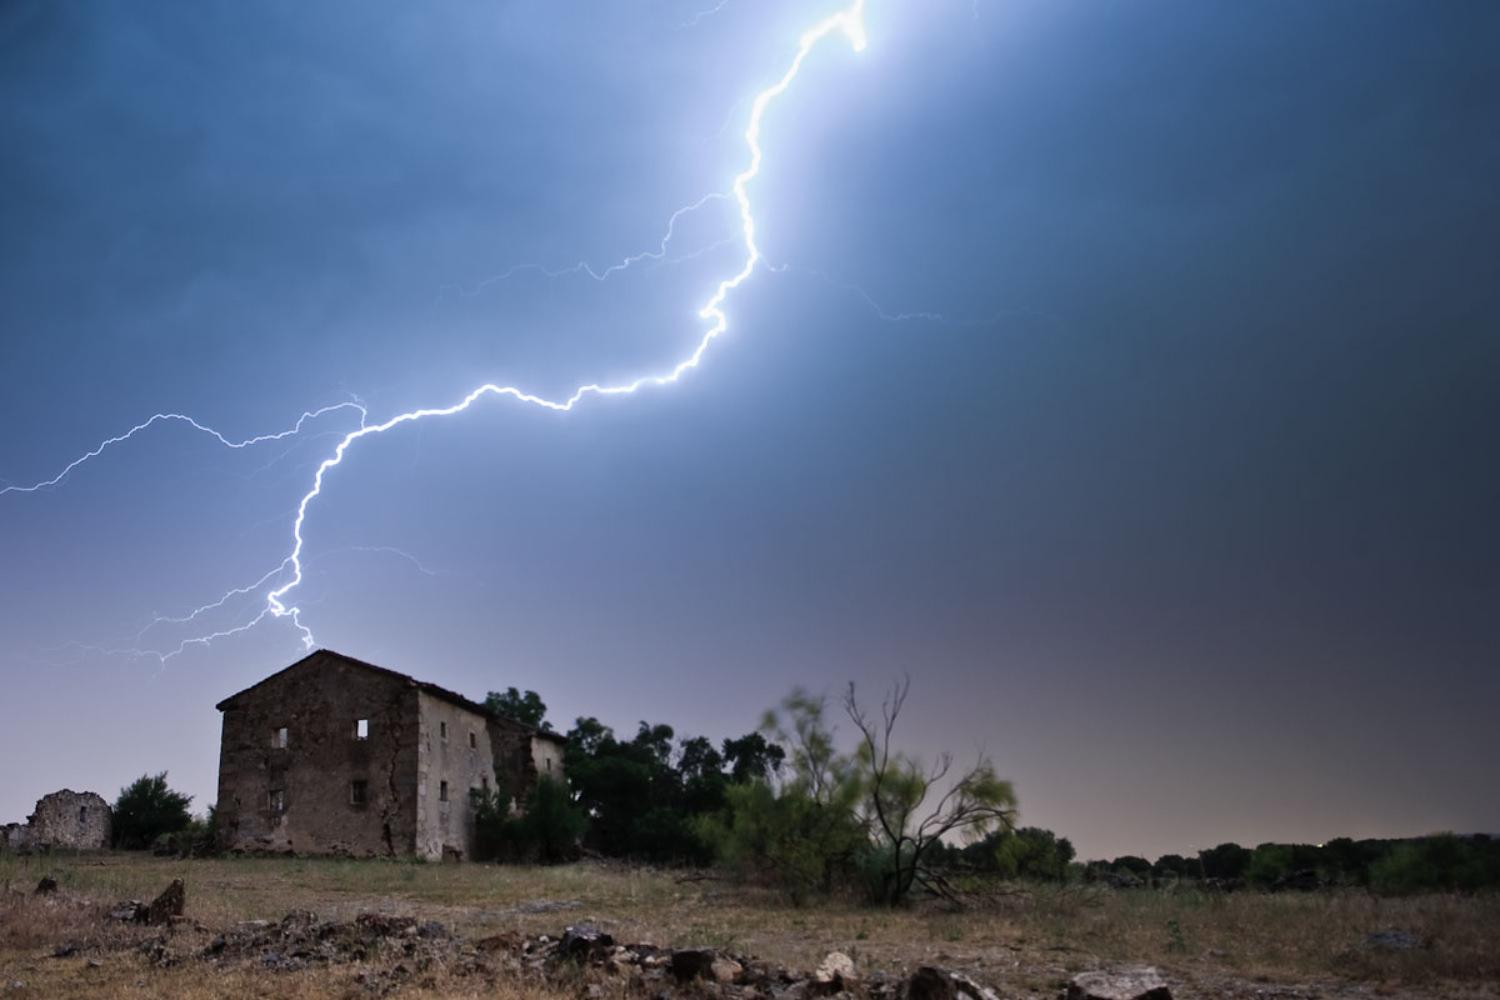
Lightning is one of the hardest photographic subjects to shoot successfully. It's great fun but you need a fair bit of luck to capture a well exposed, well composed scene filled with interesting lightning bolts.
The key to getting good shots is to be well prepared and get the camera's settings just right. After that it's a case of being patient and taking enough photos to give yourself a good chance that one or two will hit the mark.
Equipment
Before heading out in search of a storm, you'll need the following equipment:
Digital SLR - Compact cameras respond too slowly and don't give you enough control over their settings, making a DSLR a must for lightning photography.
Sturdy tripod - You'll be using long exposures (perhaps 30 seconds or more), so some sort of camera support is essential.
Cable/remote release - Pressing the shutter button by hand causes vibrations which can result in a blurry photo. A cable or remote shutter release will eliminate this problem.
Lens - Lightning can be photographed using almost any focal length lens, but a wide angle zoom (around 28-150mm) gives a good range of possibilities. Make sure the lens has a switch to put it into manual focus mode, as you'll be using that to lock the focusing at infinity.
Location
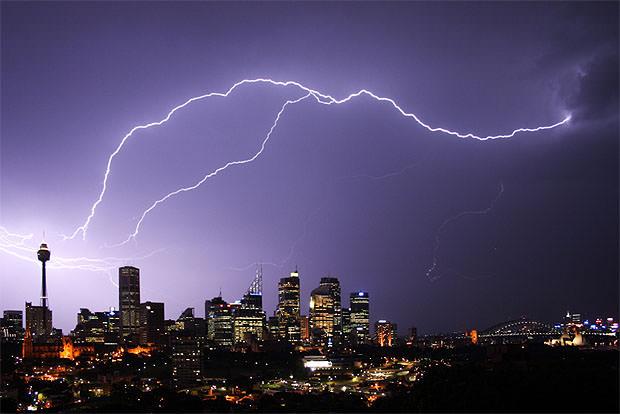
You want to position yourself around 6 to 10 miles away from the storm. Getting closer can be dangerous, and makes it difficult to shoot the lightning effectively. Setting up any further away can lead to the strikes appearing too small or dull in the final photo.

6 to 10 miles is the optimum distance from the storm. Image by Anton Bogomolov.
The easiest way to judge how far away you are is to count the time between a lightning bolt and the crack of thunder. At a distance of 6 miles this time is 30 seconds.
Try to position yourself at right angles to the storm so that it moves across your field of view rather than towards or away from you. This is safer and keeps the storm in view for longer, giving you a better chance of getting some good pictures..
If possible, stay under the cover of a building or overhang. This will keep you and your equipment dry if you get hit by a sudden downpour.
For safety, don't stand within 50 feet of any tall objects like trees, overhead cables, or metal poles. Similarly, don't use an umbrella. If shooting from a distance less than 6 miles, it's best to do so from within a building or car.
Technique
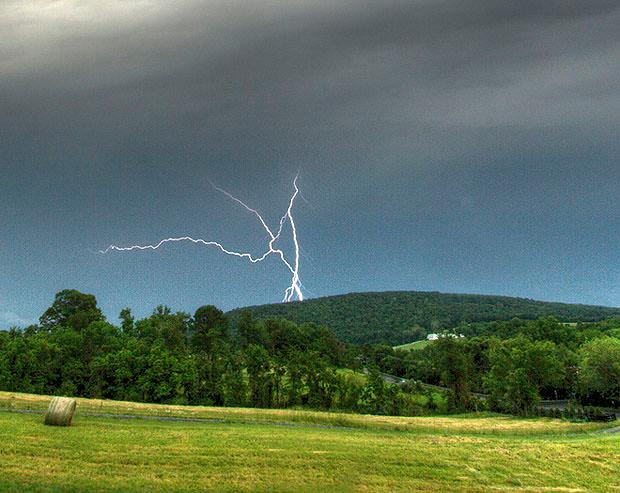
A lightning bolt lasts just a fraction of a second, and I used to wonder how photographers and their cameras could react quickly enough to capture them. As it turns out, they can't. However, each initial strike is closely followed by a series of secondary bolts, and it's these you capture.
Lightning photography relies a lot on luck, but with persistence and patience you can capture some incredible photos. Image by Pablo Salto-Weis Azevedo.
Begin by setting up your camera on its tripod and connecting the cable/remote release. Watch the storm for a few minutes and note where most of the activity is taking place, and which direction the storm is moving.
Aim your camera at the point with most lightning bolts, or slightly ahead so that you can follow its movement. Looking through the viewfinder, choose a focal length that includes the lightning in the frame and which gives a pleasing composition.
Using either automatic or manual focusing, focus on something in the far distance. If your lens is marked with an "infinity" focus distance, you can use that. Once you're happy with the focusing, switch the lens to manual mode. This will stop the camera trying to adjust the focus distance, and also speed up the camera's reaction time when you press the shutter button.
Next, you have to be patient. Sit with your finger on the cable release and watch the sky carefully. Press the release as soon as you see a bolt of lightning, and with a bit of luck you'll capture some of the secondary lightning strikes in your photo.
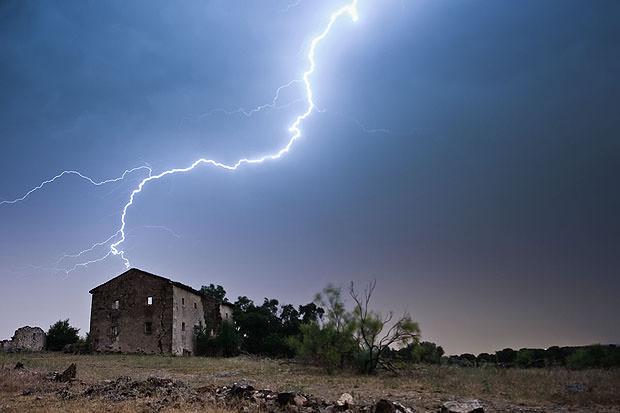
Photographing Lightning at Night
Nighttime lightning photography is the easiest type, and the best one to try if you've never tried it before.
Lightning is easier to photograph at night, and can produce some really atmospheric photos. Image by Ben Bishop.
Put your camera into Bulb mode (often marked with a "B"). In this mode, the shutter will stay open for as long as you've got your finger on the button/release. Use a low ISO (100-200) and choose an aperture of around f/5.6 to begin with.
When you see a lightning strike, press and hold the release button to open the shutter. Hold your finger down until you've seen several bolts flash across the frame, and then release it. When shooting at night there's much less chance of overexposing, so you can leave the shutter open for anything up to about 2 minutes. Around 30 seconds usually works well.
Once you've got a few shots, check them in detail on your camera's LCD screen. If they're too dark try a wider aperture, longer exposure time, or higher ISO setting. Do the opposite if your shots are too light.
Also look out for blurring caused by the clouds moving across the sky, which is particularly common on windy nights. If ths happens, reduce your exposure time. You may also need to limit your exposure time if you're shooting near a city, to prevent light pollution ruining the photo.
Daytime Lightning Photography
Taking pictures of lightning in the day is more difficult than at night, because you also need to make sure that the surrounding environment is well exposed.
Photographing lightning in the day is harder than at night. Image by Ken.
Put your camera into shutter priority mode. Select a shutter speed of 1/15 to 1/4 of a second and set the ISO as low as it'll go (100-200). Take several test shots of the scenery, checking each one and adjusting your shutter speed until the scene is properly exposed.
Bear in mind that the faster the shutter speed, the harder it'll be to capture the lightning, so you don't want to increase it too much. Using a polarising or ND filter will reduce the exposure by 1 to 3 stops, allowing you to use a slower shutter speed.
Once you've found the right settings to expose your scene properly, follow the same technique as above, waiting for a bolt of lightning and then opening the shutter. The main difference between this and nighttime photography is the much shorter exposure time. This makes capturing a good lightning bolt more of a hit-and-miss affair, but keep persisting and you'll get one eventually.
Automatic Lightning Triggers
You can fully automate your lightning photography using a lightning trigger. This is a sensor which fits into your camera's hot shoe and plugs into the cable release socket. When it detects a flash in the sky, it fires the shutter for you.
Automatic triggers do an excellent job but they're expensive, so they're really only for people who are very serious about their lightning photography. The industry leader is the Stepping Stone Lightning Trigger.
Lightning photography is far from easy, requiring a lot of patience and a healthy dose of good luck. The above tips will help you be prepared next time a storm comes around, and give you a great chance of snapping some fantastic images.