Night photography has long been a favourite of mine. I love the fascinating colours, textures, and shapes that are revealed under limited lighting conditions, and you can experiment with long exposures to add even more interest to your shots.
Star trails are one of the most beautiful subjects you can photograph. They produce some fascinating patterns, and can give a landscape a truly abstract, almost surreal edge.
They are certainly one of the most challenging subjects to shoot, as they require meticulous planning and require you to stay up for hours on end while everyone else is tucked up in bed. However, they are certainly worth the effort as they can make for some truly breathtaking photos.
Where To Shoot
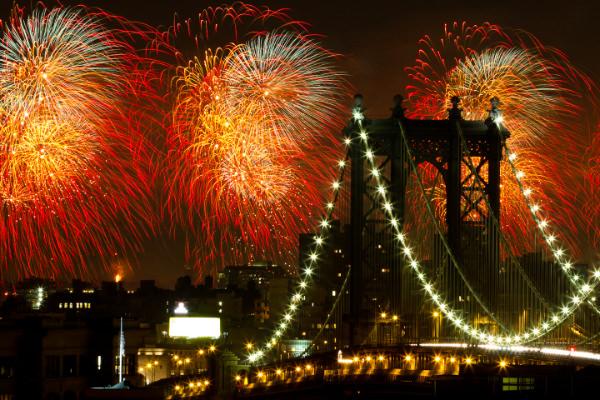
Choose a spot as far away from any cities as possible, or at least point the camera away from that area to reduce light pollution.
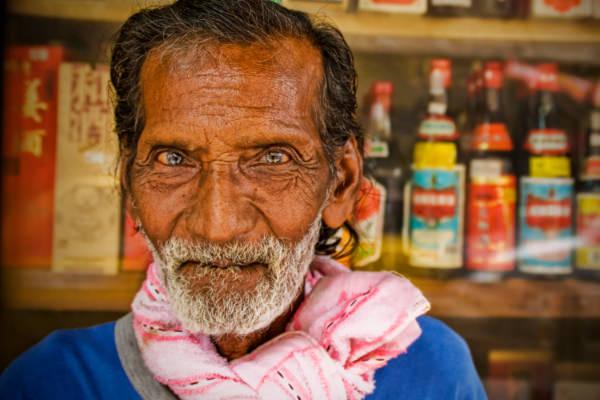
Get out of the city, away from light pollution, for the best results. Image by Taro Yamamoto.
Avoid shooting star trails during a full moon - the light will overpower the starlight in a matter of minutes.
Long exposure star trails will drain your camera's battery in no time, and the effect is even worse if you are using in-camera noise reduction. If possible, shoot near a power supply so that you can hook up your camera using an extension lead, or alternative take a portable power source (e.g. one that can run off a car battery).
Remember to choose a clear night or you won't actually be able to see any stars!
Setting Up Your Equipment
You'll need a camera that can take very long exposure photos. An SLR or digital SLR with Bulb Mode is perfect.
Use the lowest ISO setting available (e.g. ISO 100) on your camera to reduce the amount of noise in your final photo.
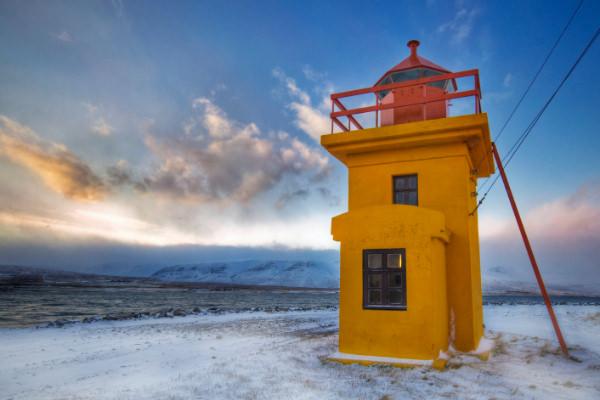
A tripod is absolutely essential. The sturdier the better, particularly on a windy night.
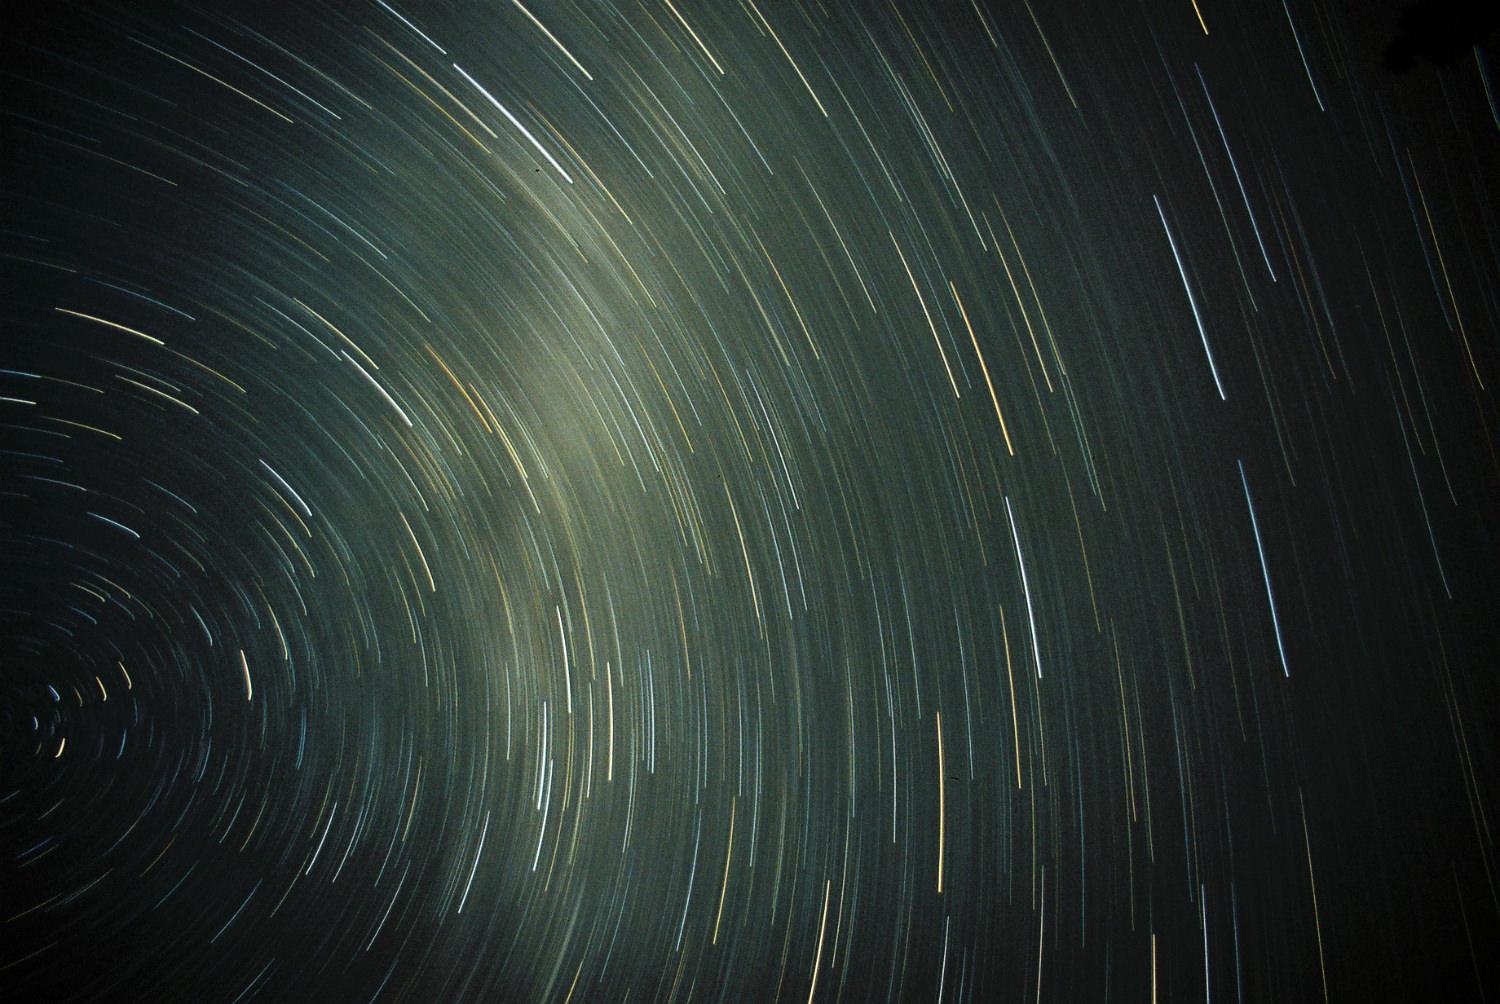
Use a sturdy tripod and low ISO setting to keep your star trails sharp. Image by Zoltán Bánfalvy.
Use a wide aperture to ensure you capture plenty of light. This will give you brighter trails.
Wrap insulation around your lens to prevent it fogging (particularly bad on very long exposures on cold nights). An ideal, cheap solution is to wrap socks around it and hold them in place with elastic bands.
Optionally, take a star chart or planisphere along to help you identify the North or South star (see below).
Finally, you may want to take a warm coat, a flask of coffee and a good book to while away the time!
Composing Your Photo
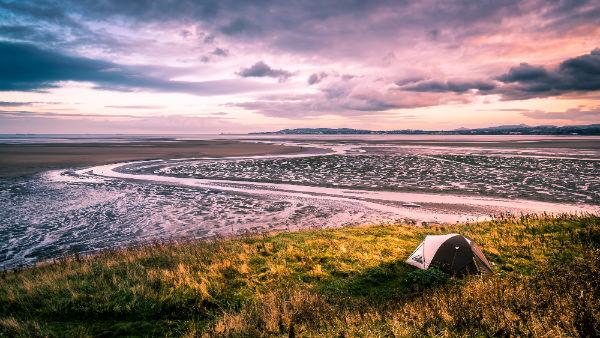
The Earth rotates around the north and south poles, so all star trails are centred above them. If you want to position this centre point exactly you'll need to locate the North Star, Polaris (northern hemisphere) or the South Star, Sigma Octantis (southern hemisphere). Your star trails will form a circle around this point, so position it appropriately in your scene.
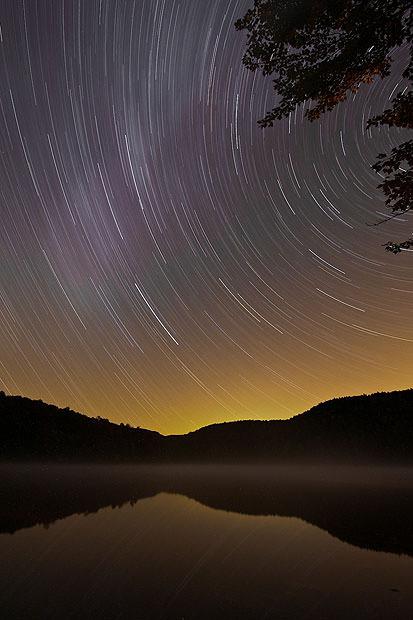
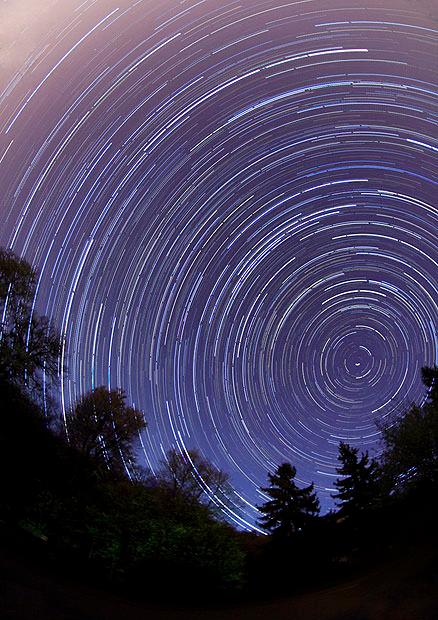
Locate the North or South Star and plan your composition accordingly. Image by stillwellmike.
Long exposure star trails on their own make stunning photos, but you may also want to include some foreground objects. be sure not to place them too close though or they will be out of focus thanks to the wide aperture.
If you do use foreground objects, the ambient light will often illuminate them nicely, but if not consider using them as silhouettes instead.
Exposure Time
Exposure time is really a matter of trial and error - it can be anything from a few minutes to several hours depending on the conditions.
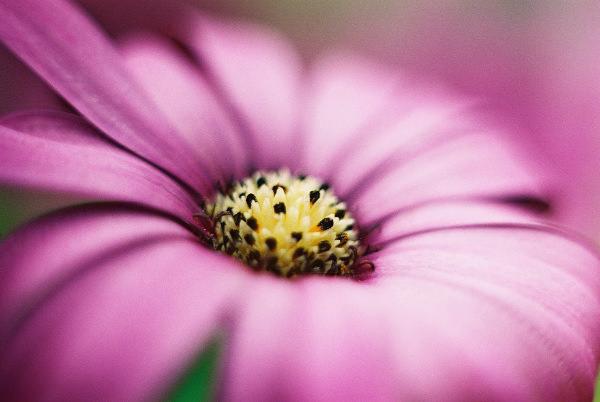
It is worth bearing in mind that a longer exposure will produce longer star trails, but will also usually dim the brightness of the trails. The stars complete one full rotation in 24 hours, or 15 degrees every hour, but my advice is to concentrate on getting a good exposure, and not worry too much about the length of your star trails.
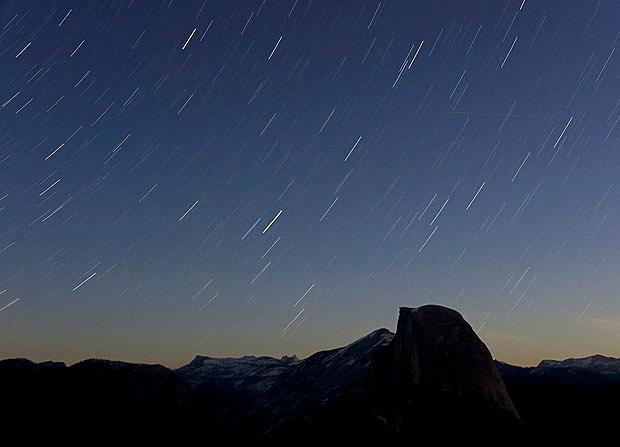
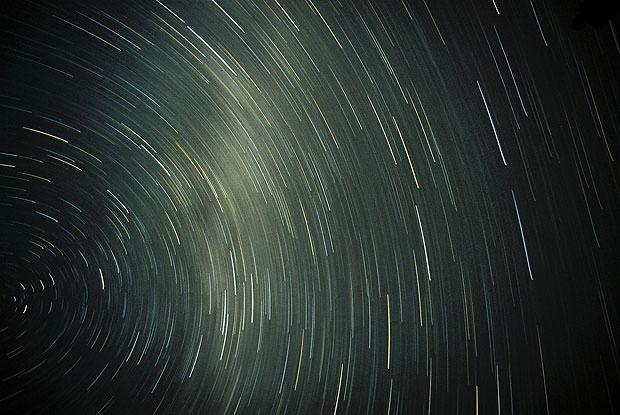
Adjust your exposure time to capture different length trails. Image by Sathish J.
Start with an exposure time of 5 minutes and keep doubling it until you get a good result. Once you get close to the right exposure time, use your judgement and previous results to decide whether to increase or decrease the exposure time.
That's all there is to it. Long exposure star trail photos are technically quite easy to shoot - the hardest part is staying awake!